I am always updating the palettes I have from independent paint makers, as they come out with new paints! Up until now, I have been remaking a swatch for the lid of my palette with every update, but that is about to change! If you have the same problem, or just like to move around your paints every now and then, this is the swatch method for you!
What You’ll Need
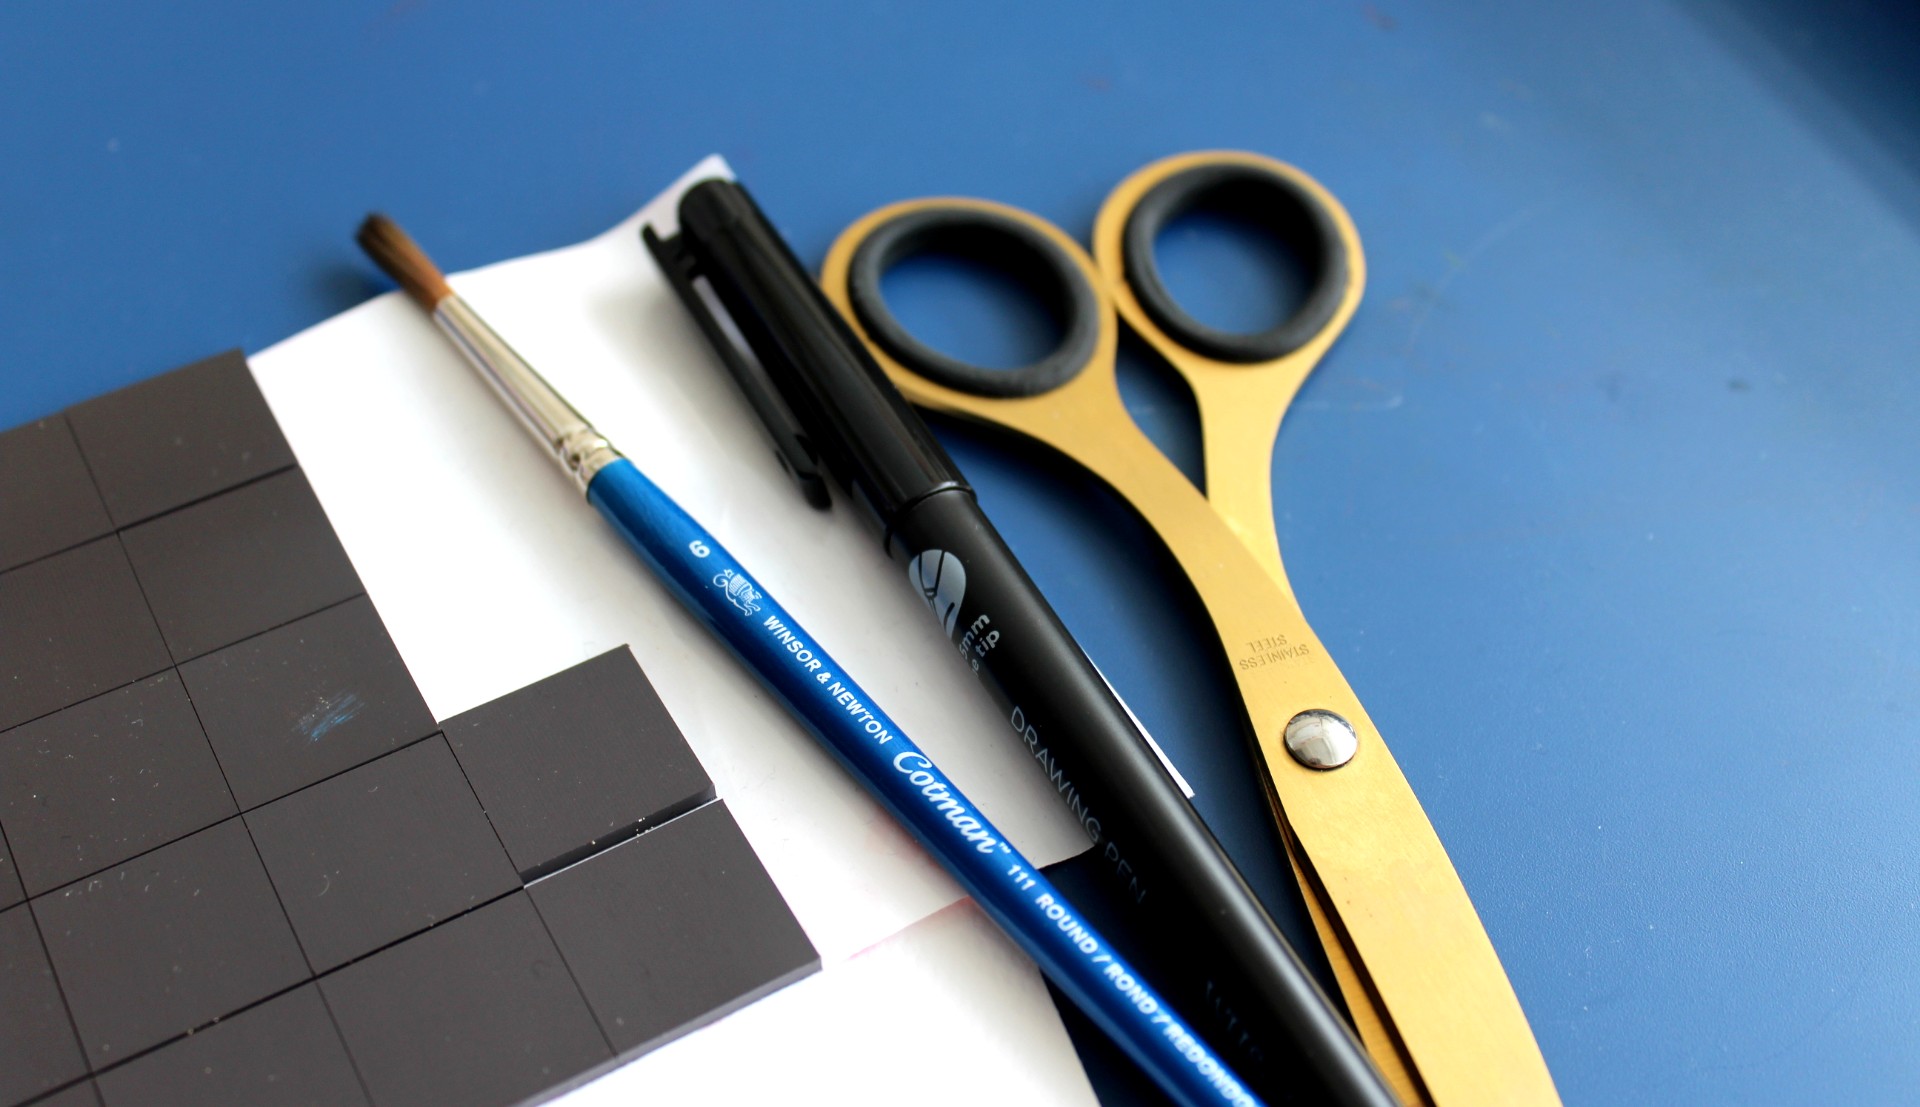
- Metal tin for your paint palette.
- Pre-cut magnet tape (2 x 2 cm squares) Alternatively, you can use rolls of magnetic tape and cut to your preferred size.
- Your watercolour pans of choice- the ones I use in this tutorial are from Keiko at The Aloha Studios! Keiko attaches magnets to the base of each pan, but paints from some artists or store-bought paints may not have magnets. If this is the case with your paints, simply cut some extra magnetic tape to size and attach to the base!
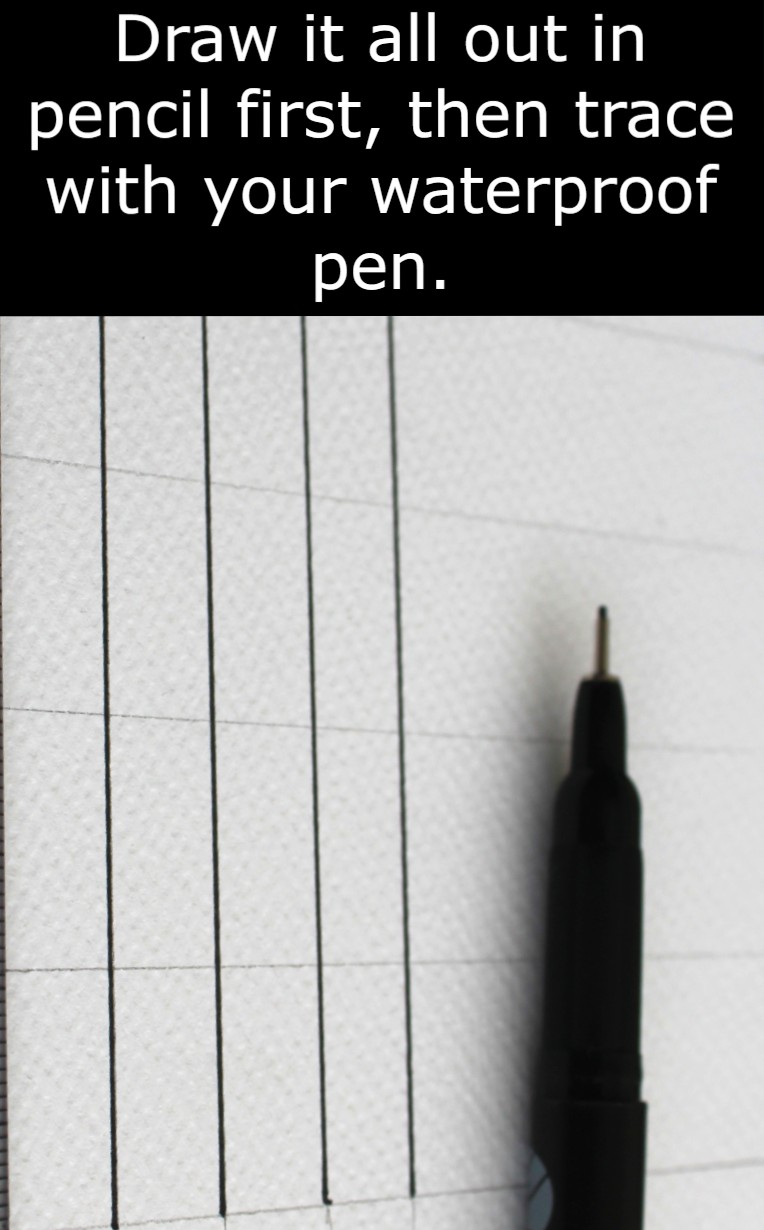
- Waterproof fine liner- I use the WH Smith waterproof drawing pens in this tutorial.
- Ruler, pencil, eraser, and scissors.
- Paintbrushes and water.
- Watercolour paper- I recommend you use the paper you use most frequently, as you want your swatches to look like they will when you use them, and watercolours tend to look and behave different depending on the paper you’re using!
Step 1: Arrange your paints
Your first step is to arrange your paints in the palette according to your preference. I arrange them all by hue. Alternatively, you can separate shimmers and nonshimmers, or just by most-used colours. This whole point of this tutorial is to allow adjustment, so don’t worry too much if you’re not sure of what order you would like them in.

If you need to attach magnets to your paints, do it now. Magnets keep your paints in place in your metal tin!
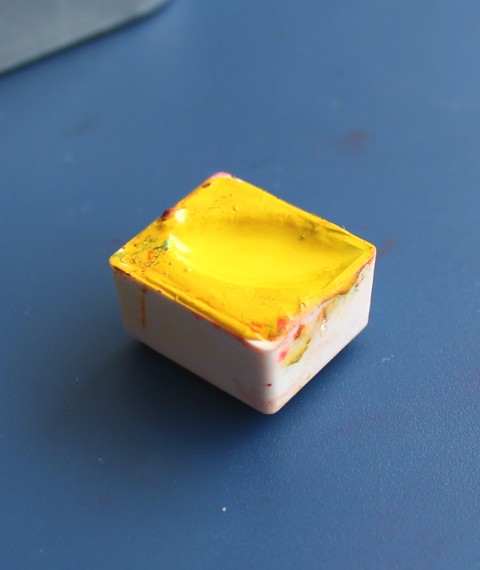
This is “Mango” from The Aloha Studios. 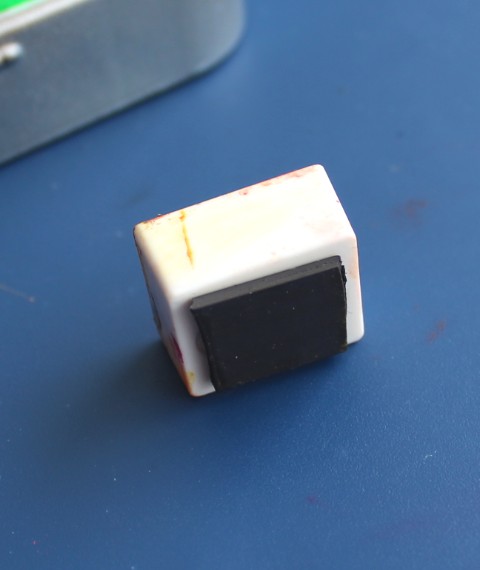
This paint came with magnets already attached.
Step 2: Make your layout
I always worry about the size of my swatch paper, wanting to make sure it will fit in my palette lid. The easiest way to ensure it will fit is to make it smaller than the pans inside the palette!
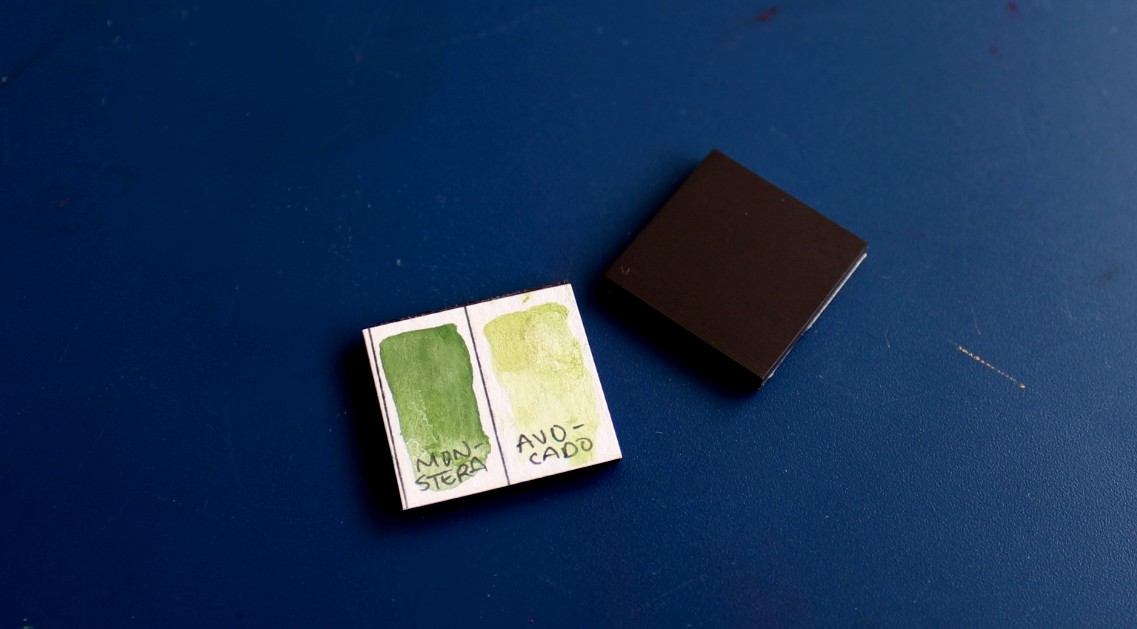
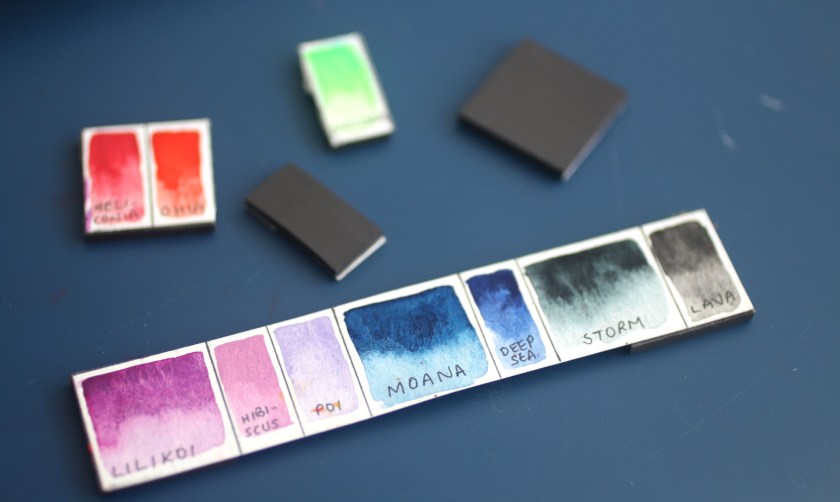
- Draw rows of rectangles on your watercolour paper – with each rectangle 2 cm tall and 1 cm across. There is no need to leave spaces. My palette is ten half-pans across, so each row of rectangles was 2 cm x 10 cm.
- Make sure you have enough rectangles to have one for each half pan.
- Write in all of your paint’s names in the order you have them in your palette.
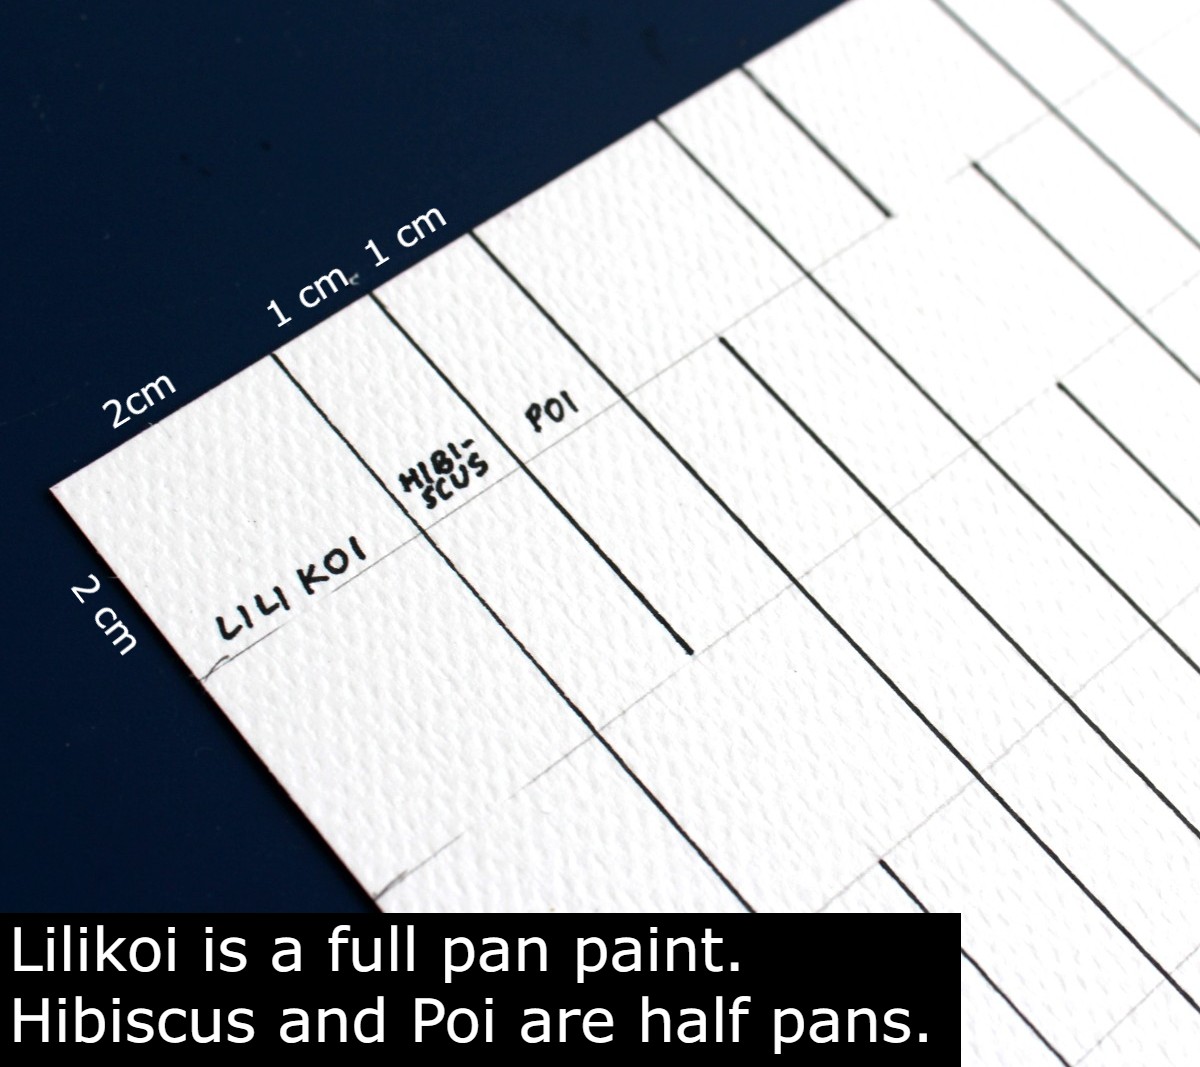
TIP: If you want the swatch card to make sense visually, make full pan paints the size of two half pans in your swatch to match how it looks in person!
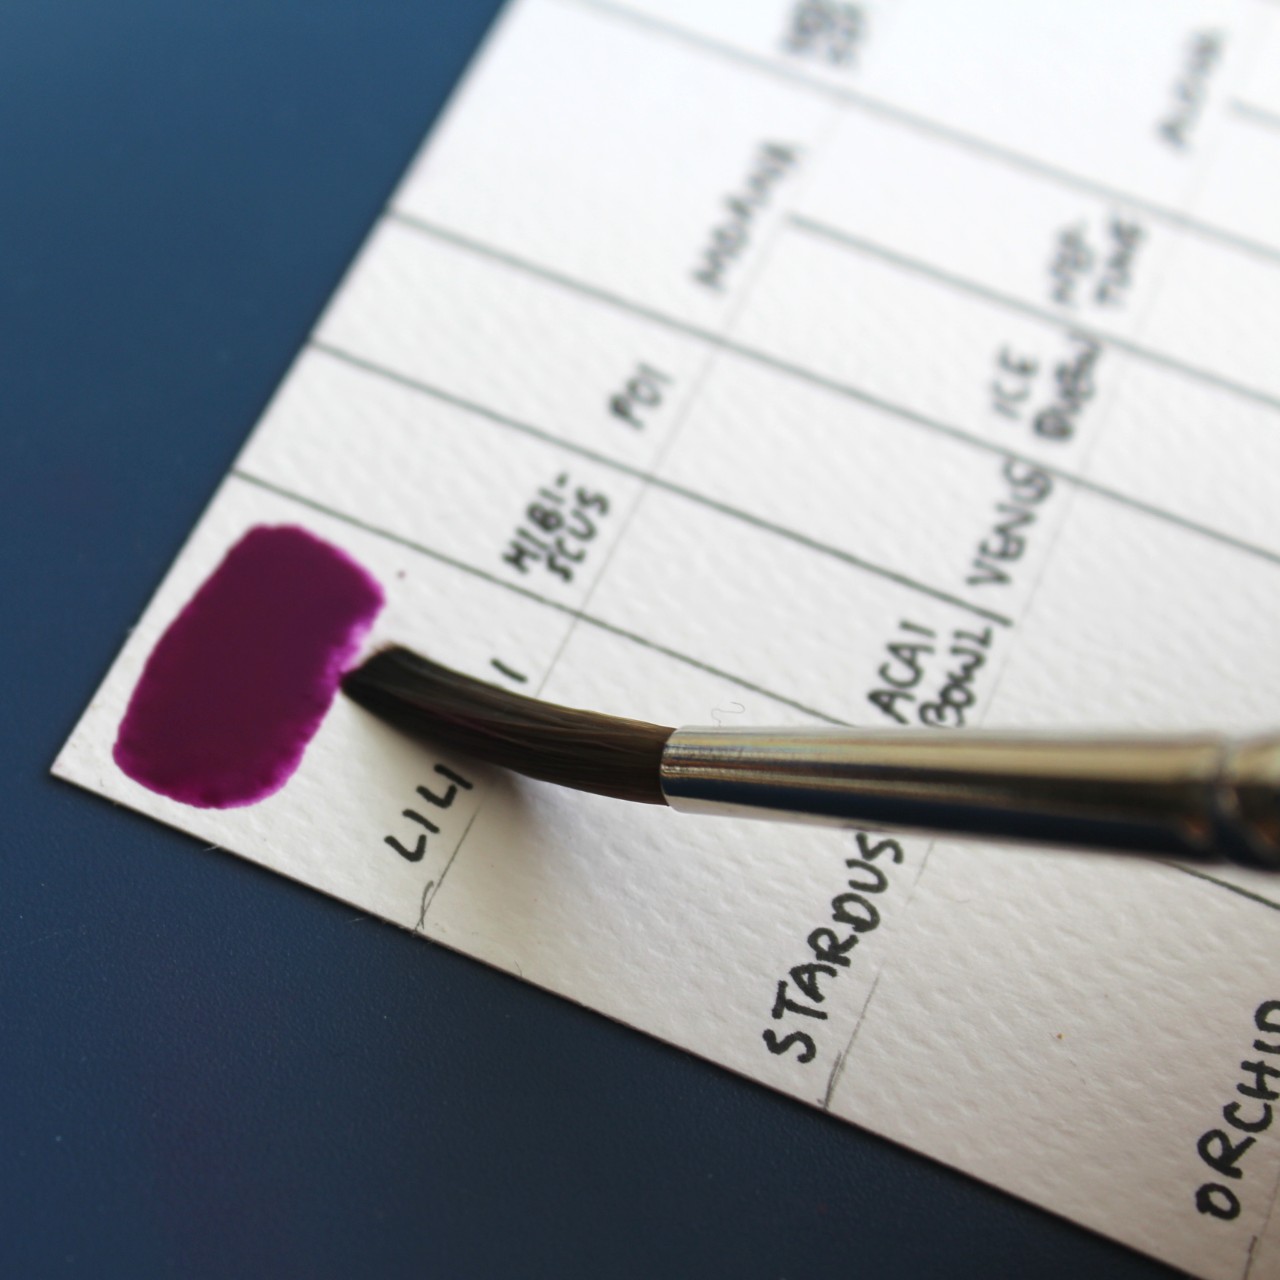
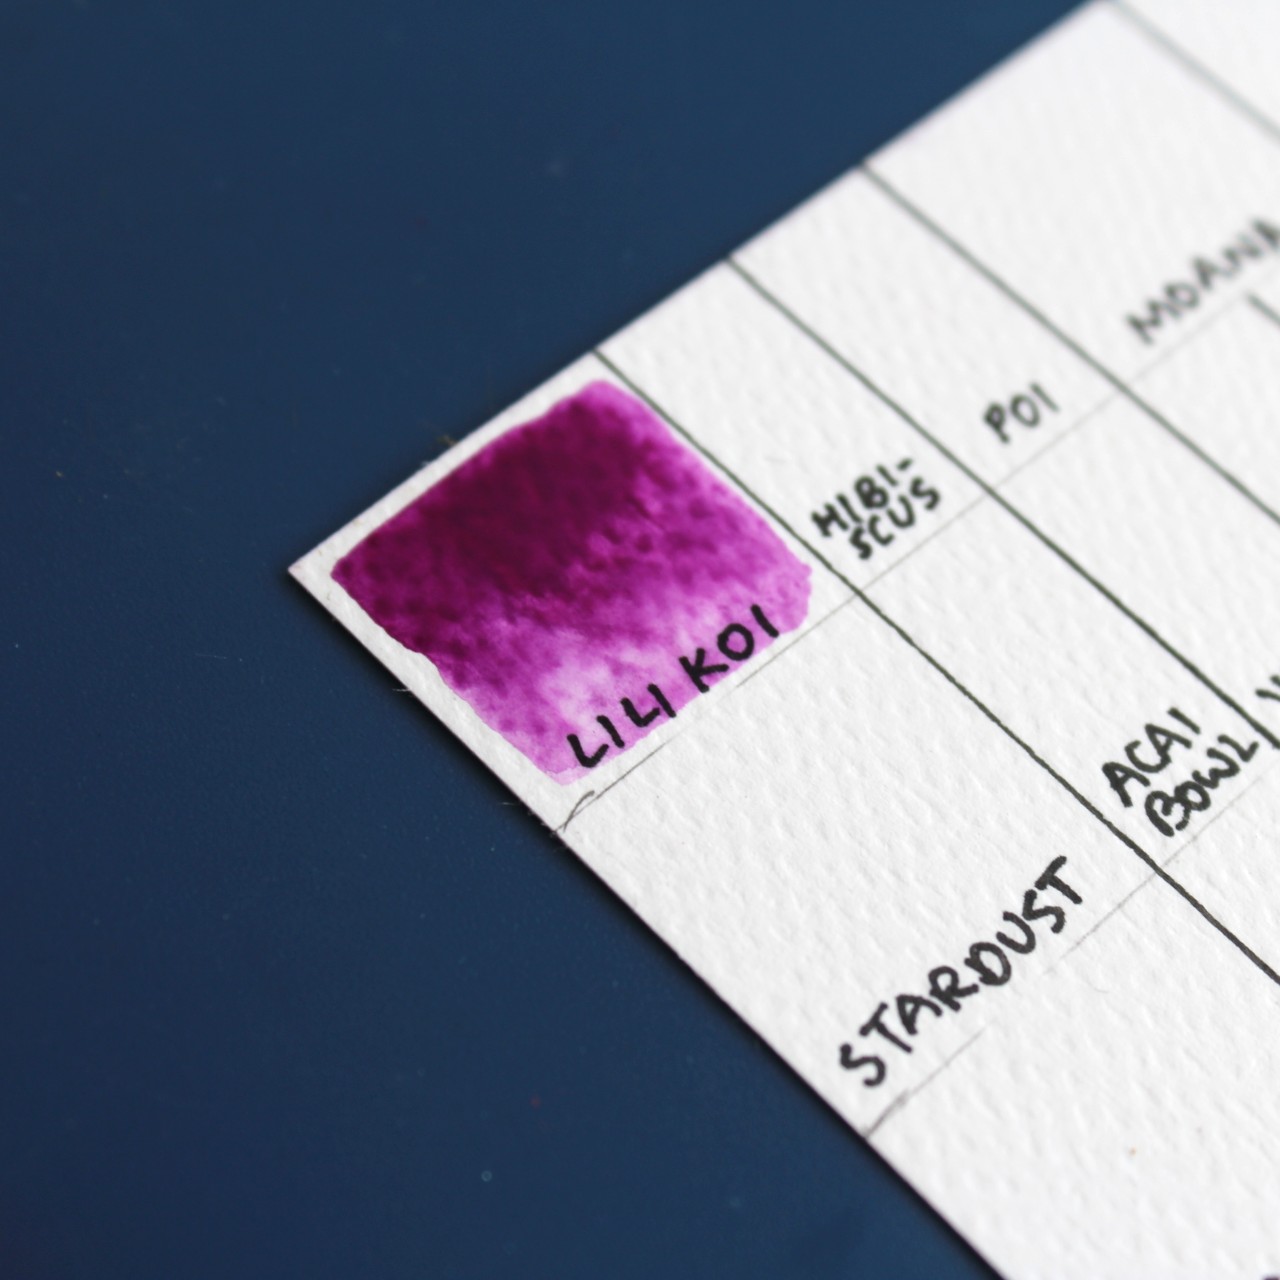
Step 3: Paint your swatch card!
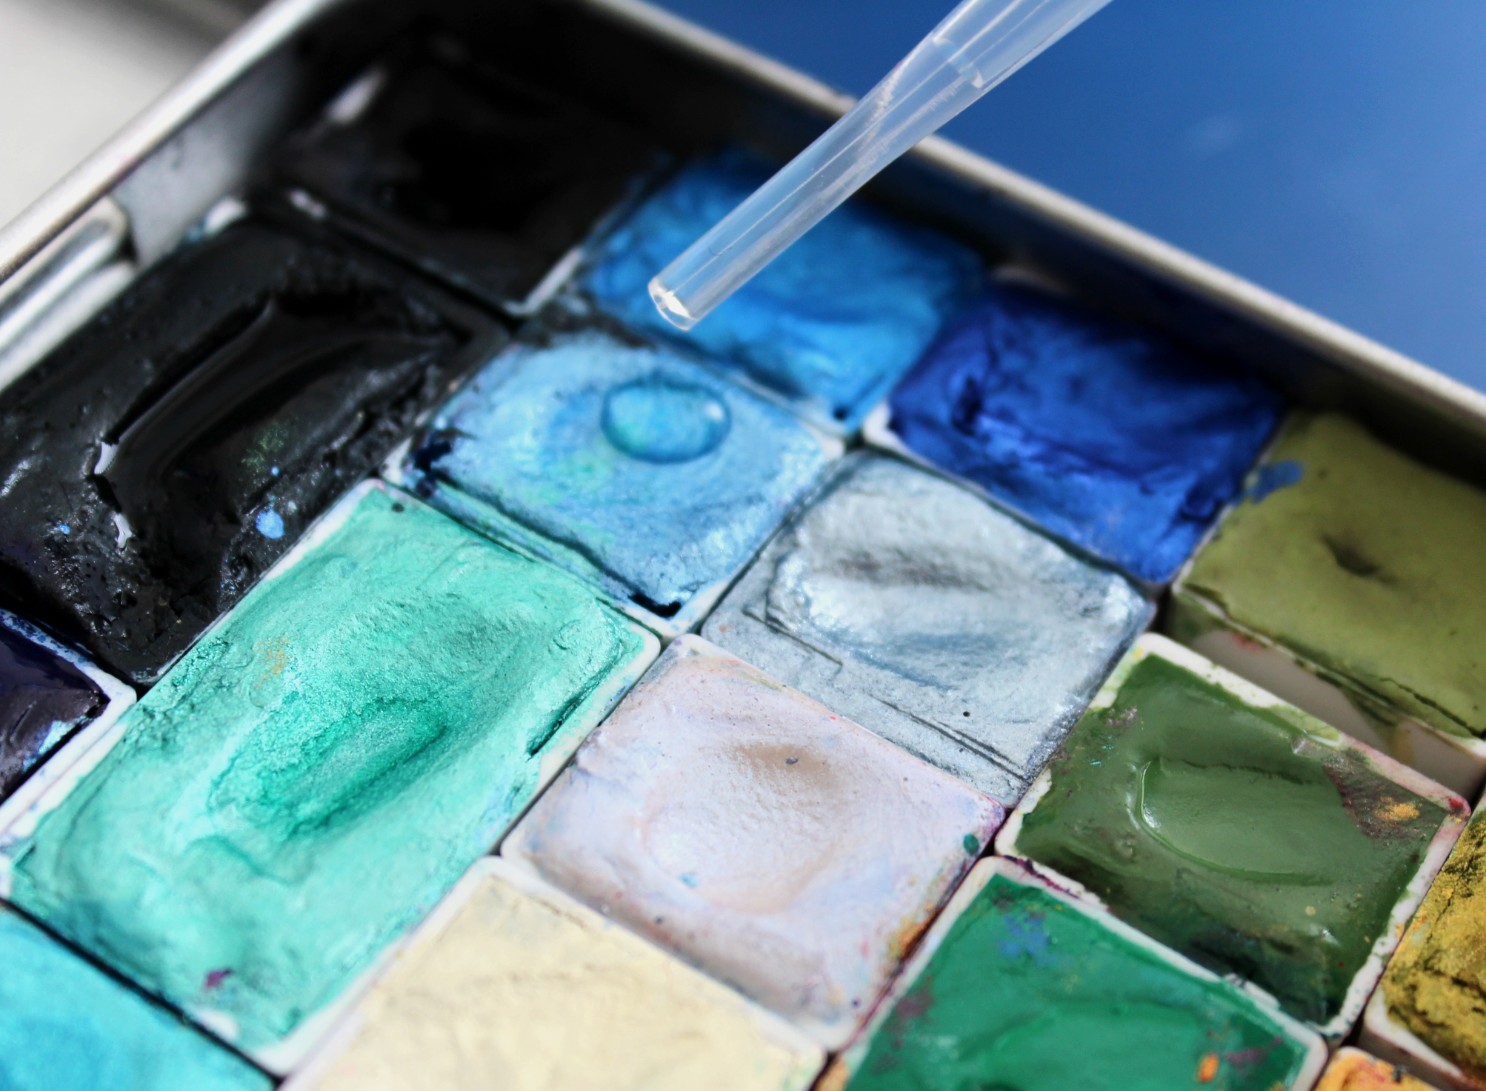
TIP: Use a paintbrush or pipette to place a drop of clean water on each paint before using them. This allows the watercolour to activate, and makes them easier to use!
If you’ve never done a swatch before, this is my method:
Use your paintbrush and clean water to pick up your first paint, making sure the colour is concentrated on the brush. Paint the top half of the swatch rectangle. Wash your brush and wipe off most of the water. Wet the bottom half of the swatch rectangle and let the paint from the top half run into it. This gives you a sharp gradient, letting you see how the paint looks when concentrated, and when diluted. Repeat for all colours!

Now for the “adjustable” part. Up until this point, this is pretty much a normal swatch card tutorial. You could stop right now, attach some magnetic or washi tape to your swatch card, place it in your watercolour colour tin, and it would be a complete project! BUT, if you want your card to be dynamic, allowing you to change the order of your paints, stick around!
Step 4: Make it adjustable
The way this project makes your swatches adjustable is by using the magnetic tape squares. The extent to which you decide to make it adjustable is completely up to you! You can:
- Attach magnets to the corners for now, and apply the rest of this tutorial when you decide to shift around your paints.
- Cut the swatch card into rows and attach magnets to the ends, letting you swap whole rows at once.
- Attach magnets to each pair of half pan paints or each single full pan and make almost all paint interchangeable.
- Cut each magnet in half and make your swatch pan completely interchangeable!
The reason I chose 2 cm squares of magnets; and measured the swatch into 2 cm rectangles is so that they can match up perfectly. Each magnetic square can be attached to a portion of your swatch and make that piece moveable! The possibilities are endless!