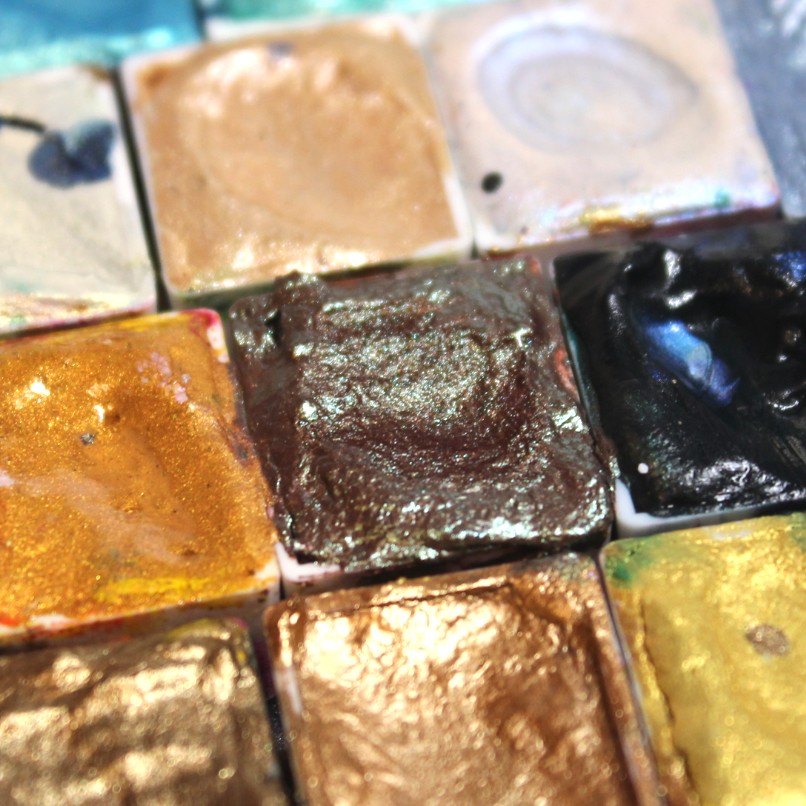
I created a master swatch to compare paints from different watercolour makers! Most master swatches are made on one piece of card, or multiple pieces held in some kind of folder. My master swatch is adjustable, read below how to create one!
What You’ll Need
- White watercolour paper of your choice
- Black paper (optional)
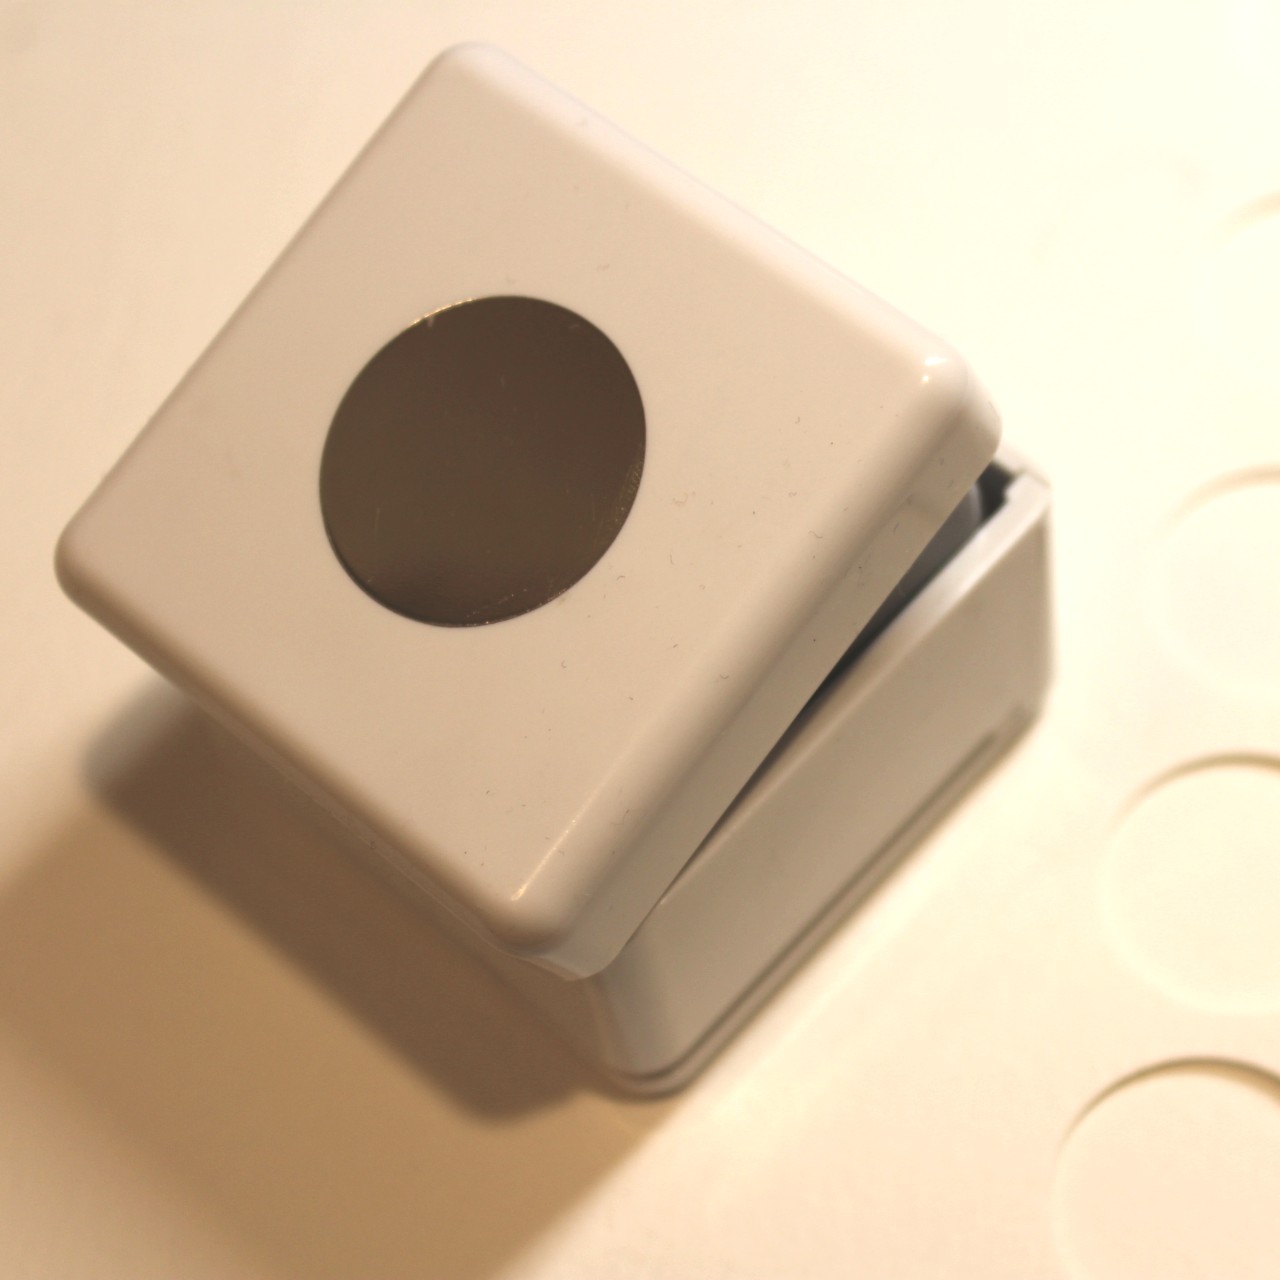
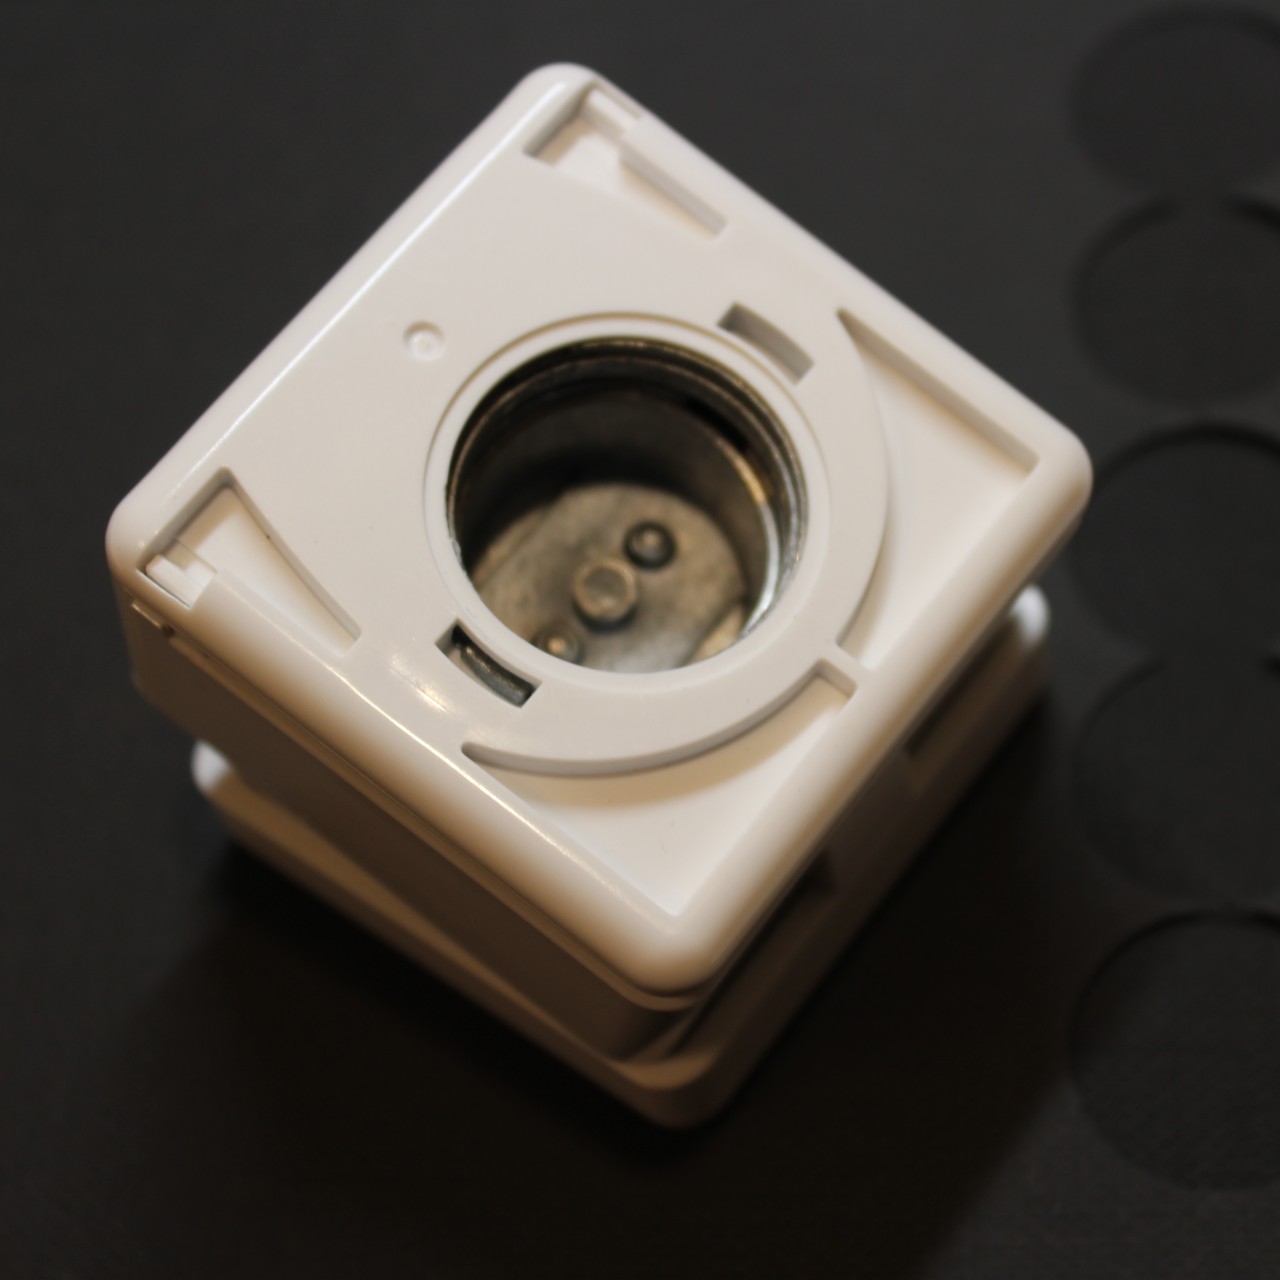
- Circle craft hole punch (the one I use here is the XCut circle)
- Glue
- Velcro dots (I used a hundred pack of small sticky-backed velcro dots)
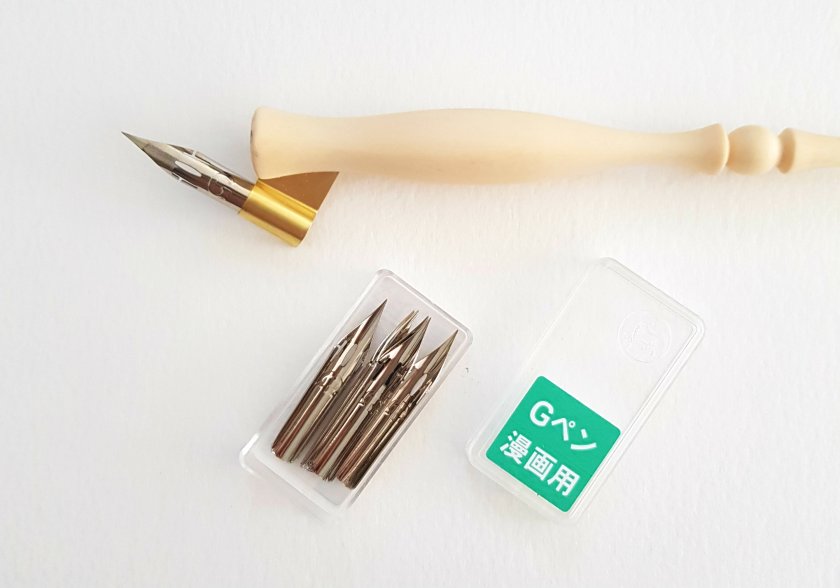
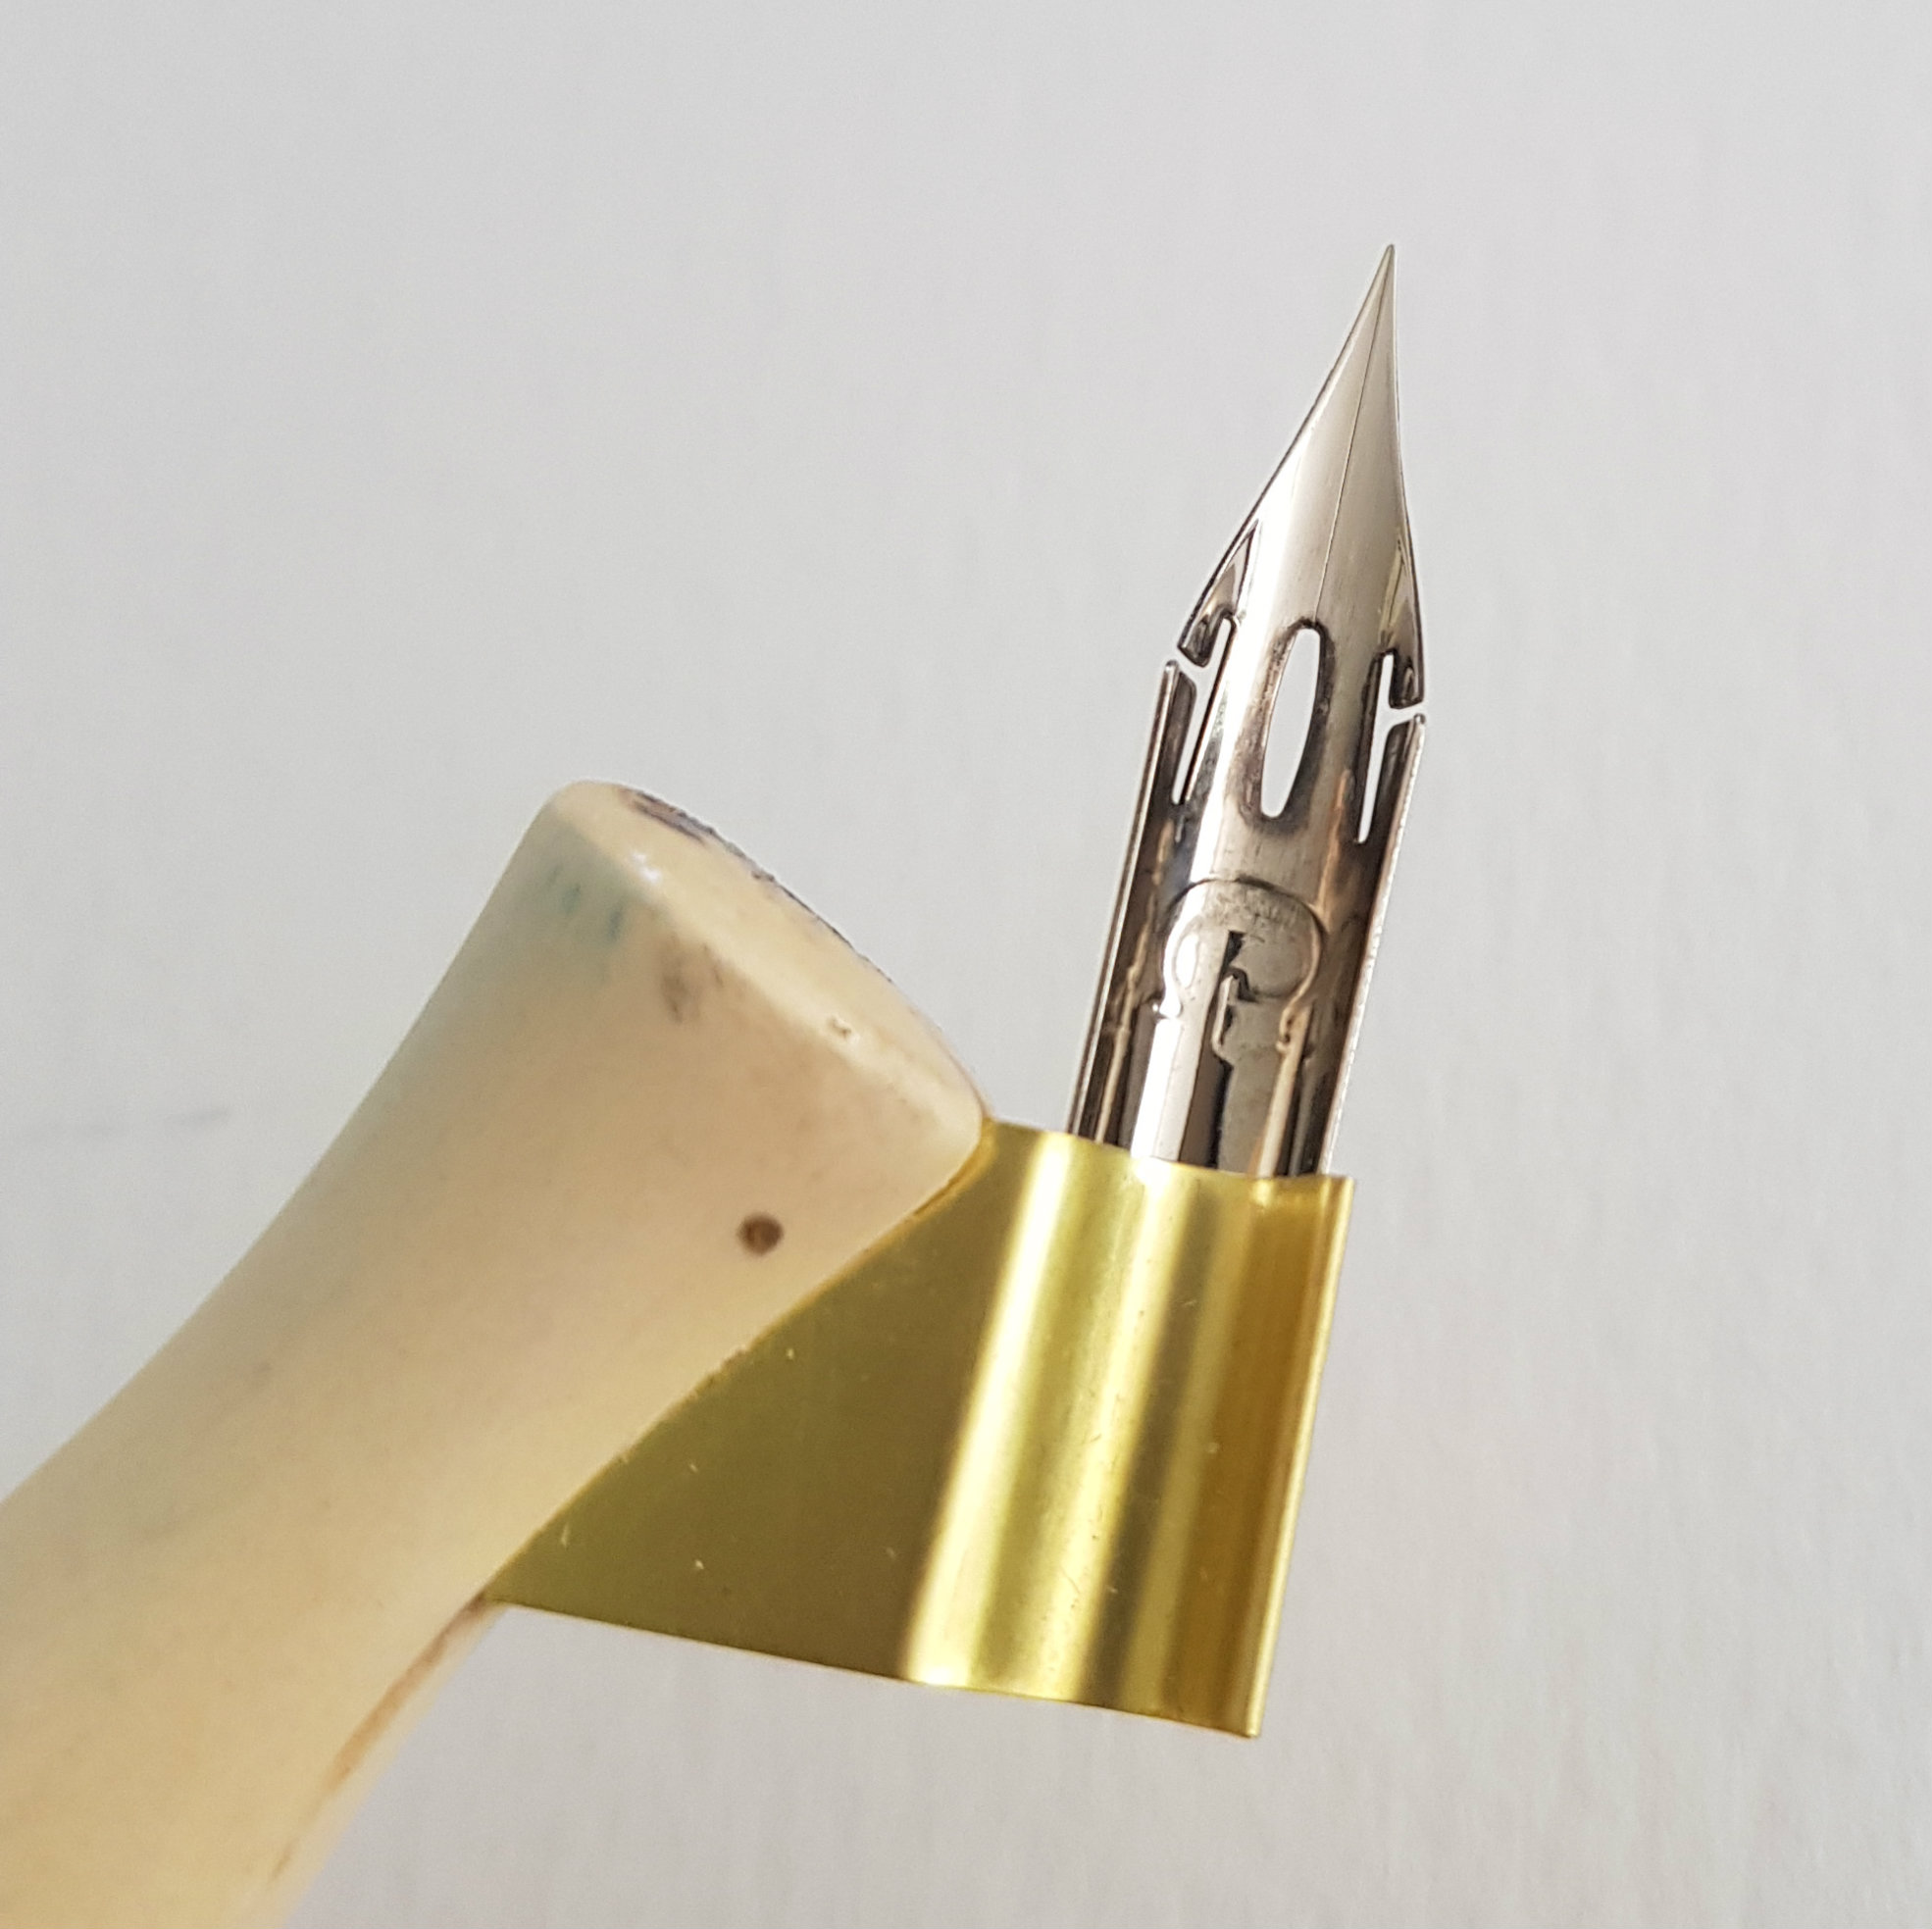
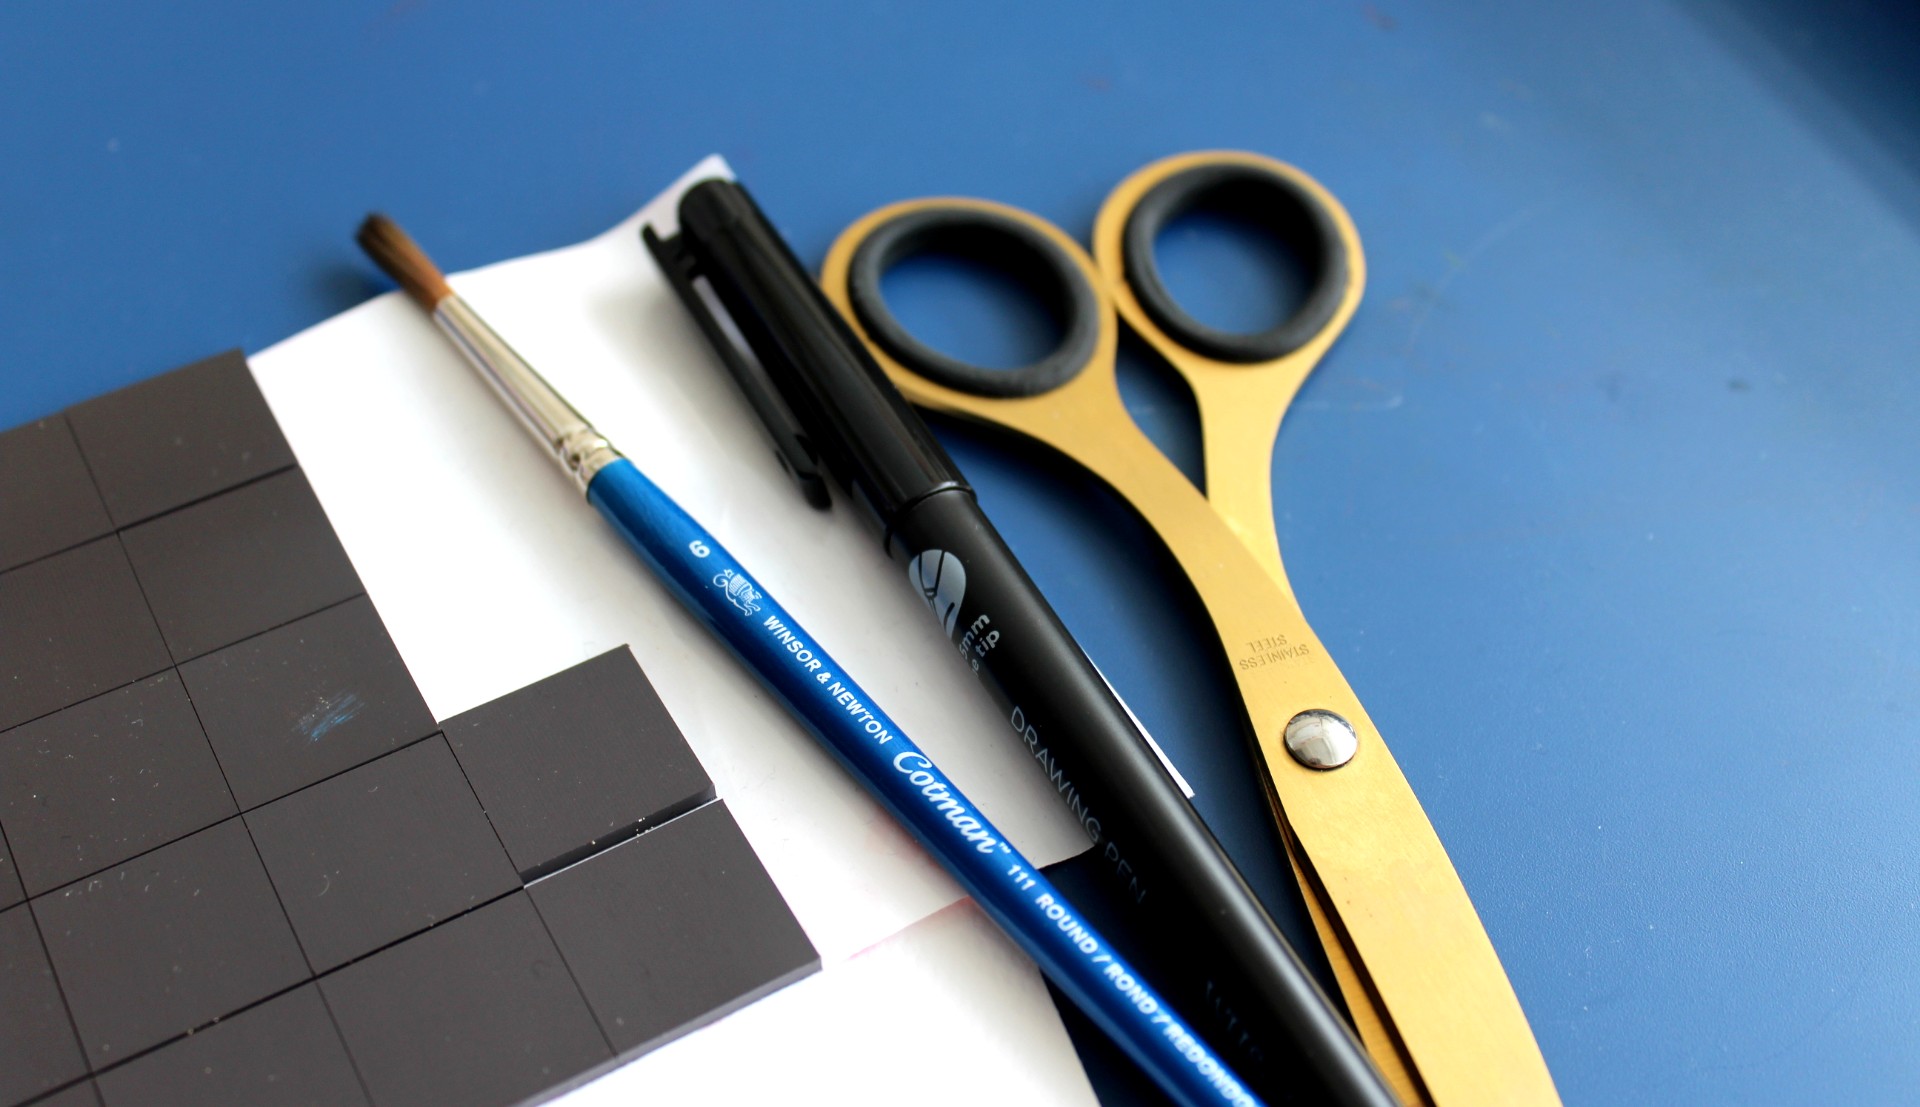
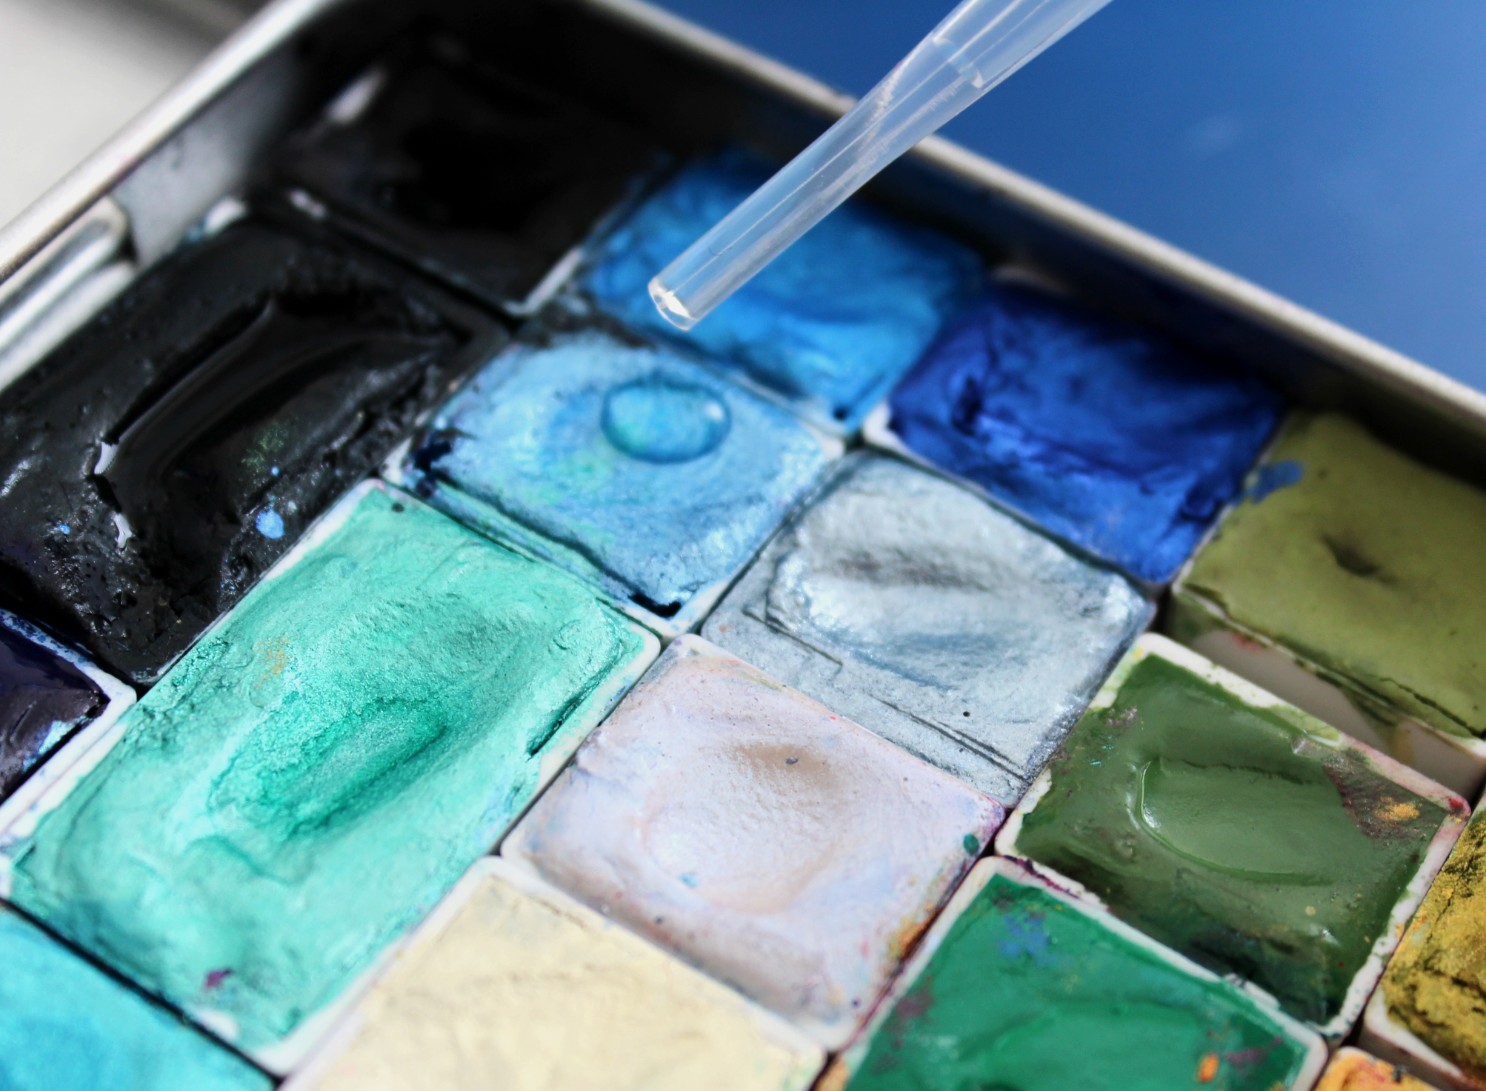
- Pen, paint, paintbrush and water
- Backing paper of your choice
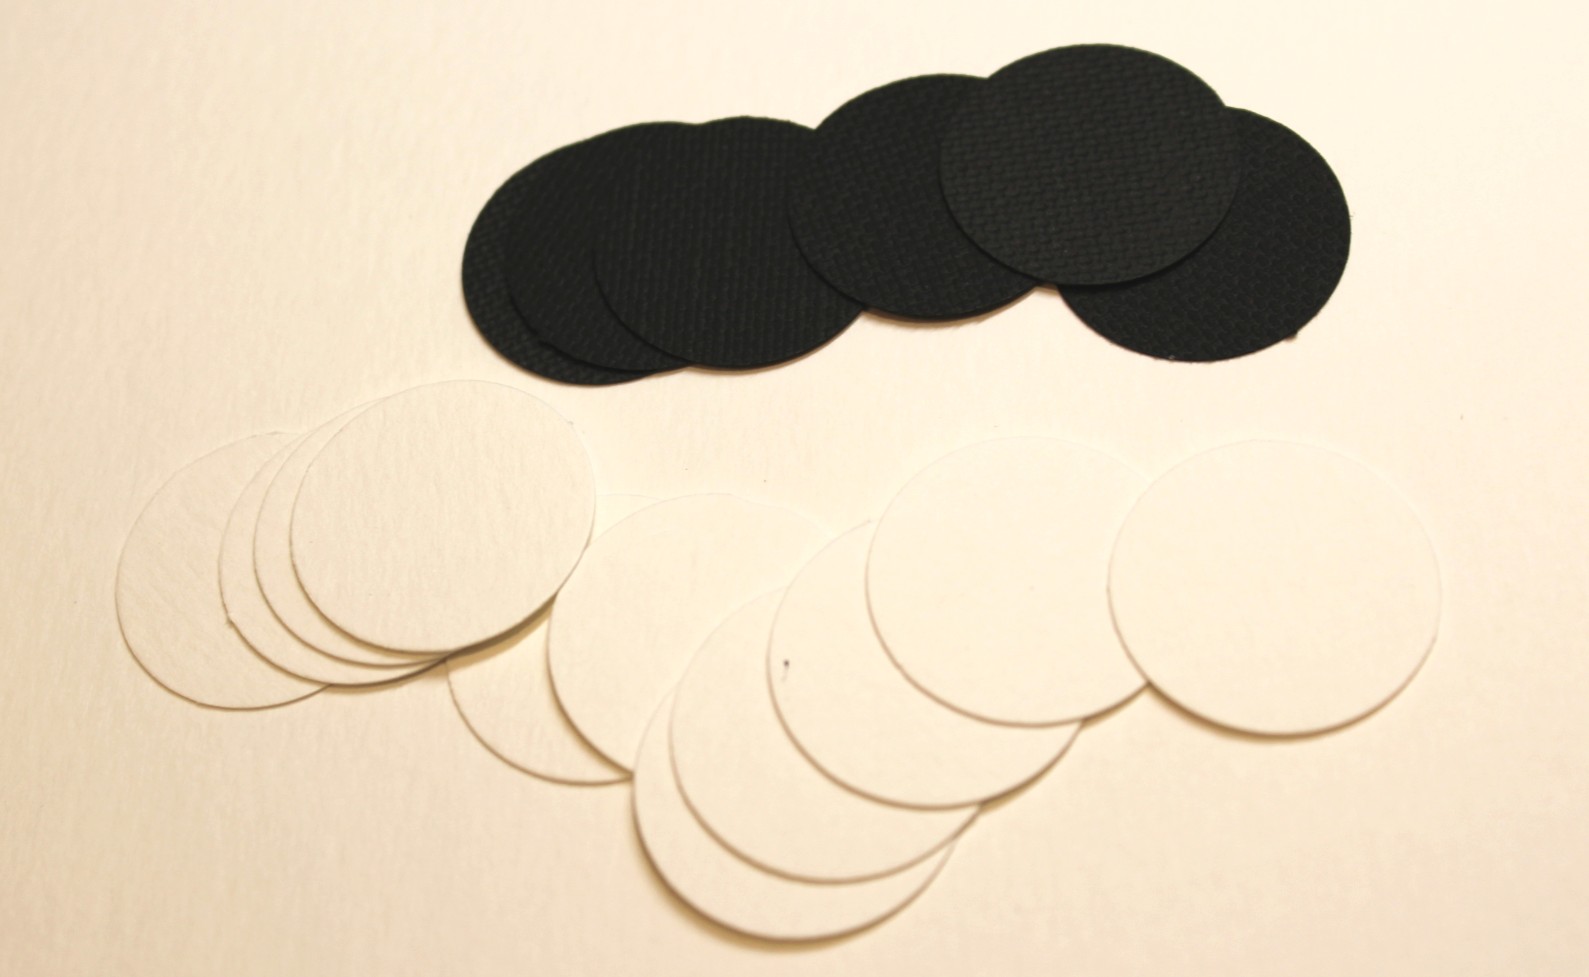
Step 1: Cut out your paper
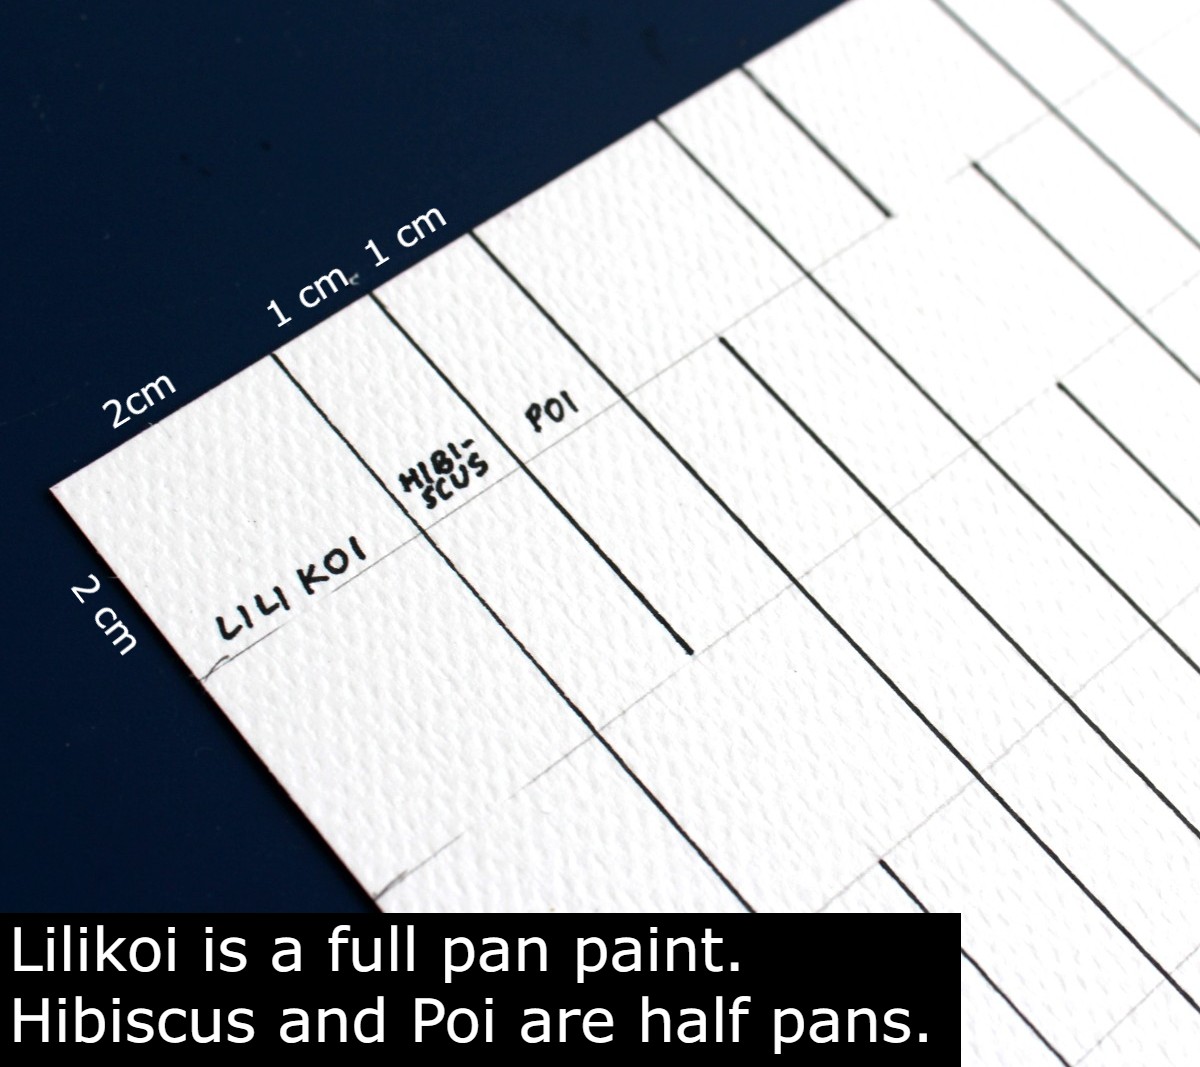
First, you’ll need to cut out the watercolour paper of choice. I used the XCut circle hole punch that’s 2.5cm in diameter. Cut out one circle of white paper for each paint in your master swatch.
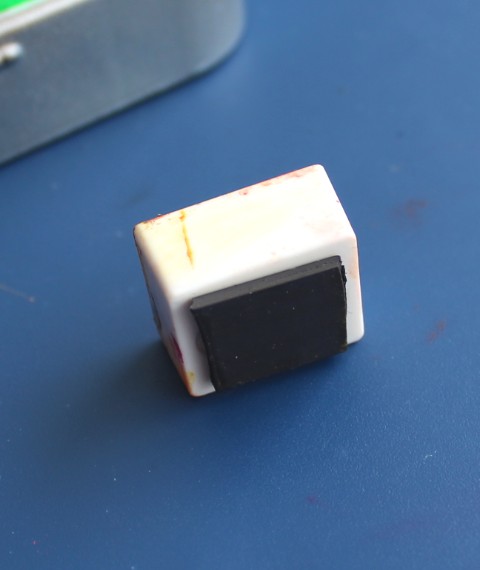
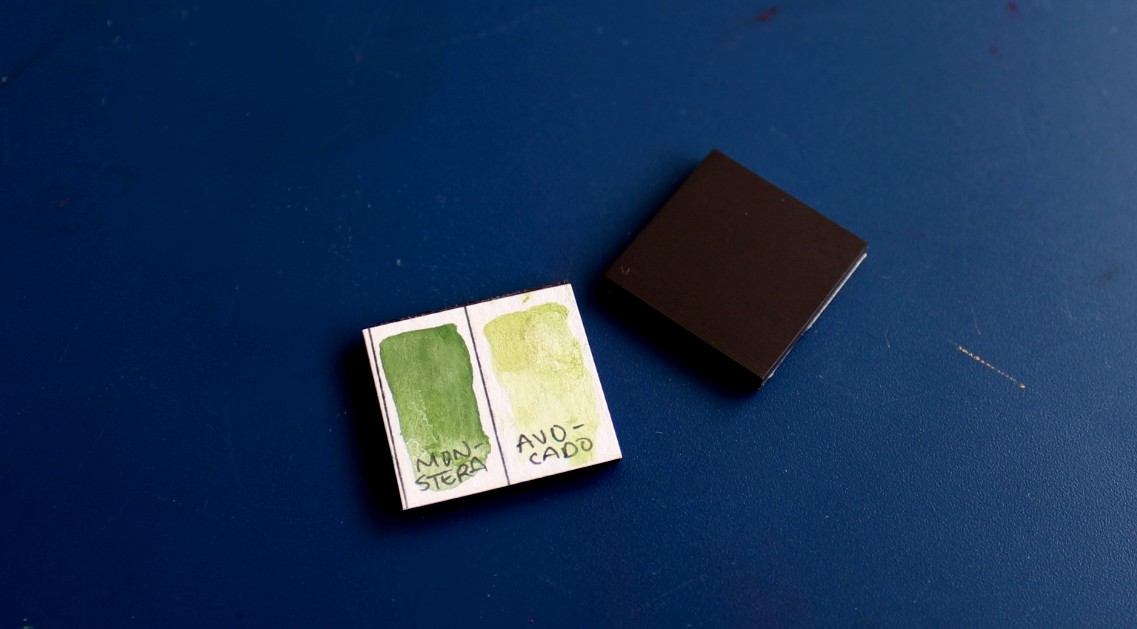
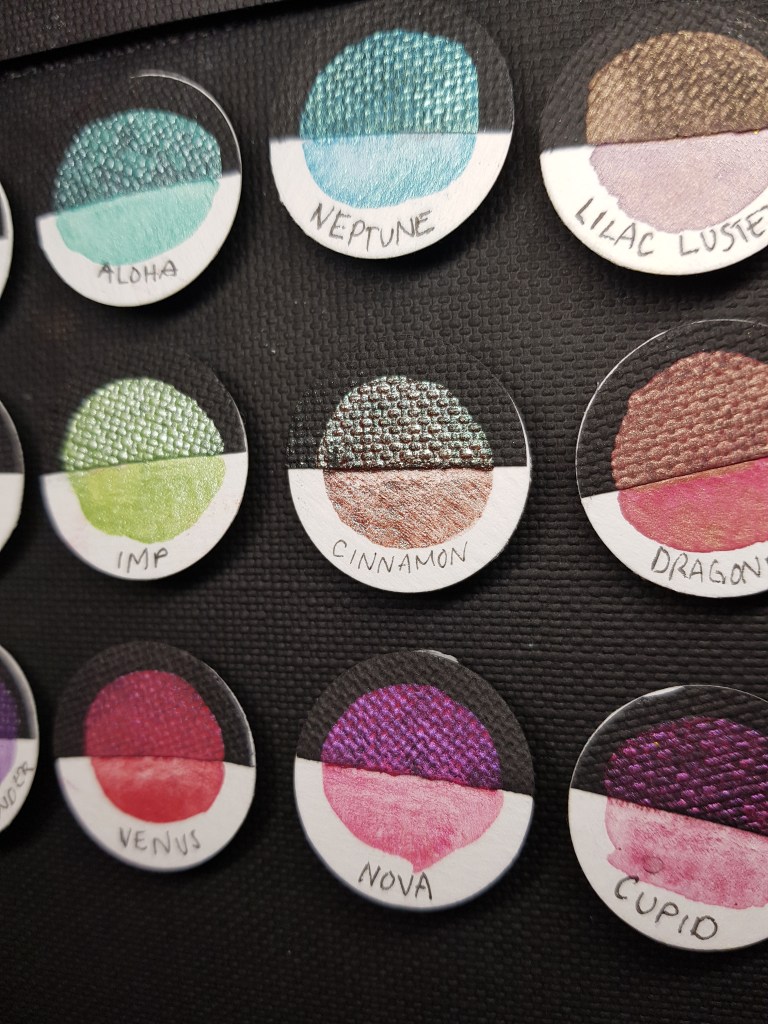
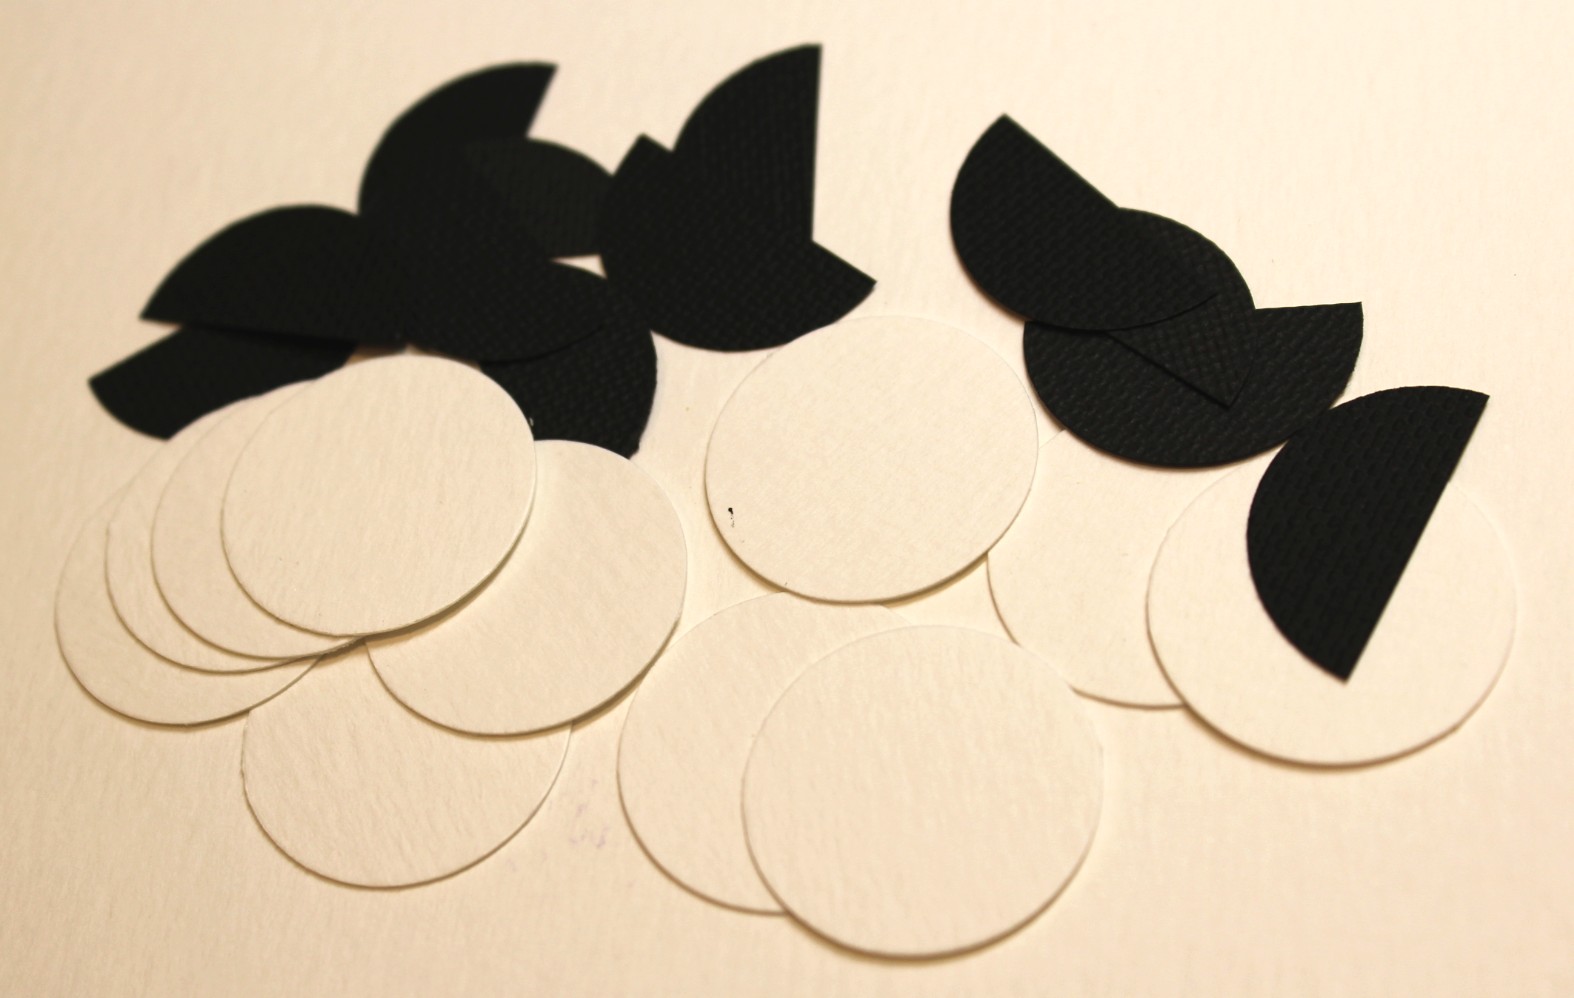
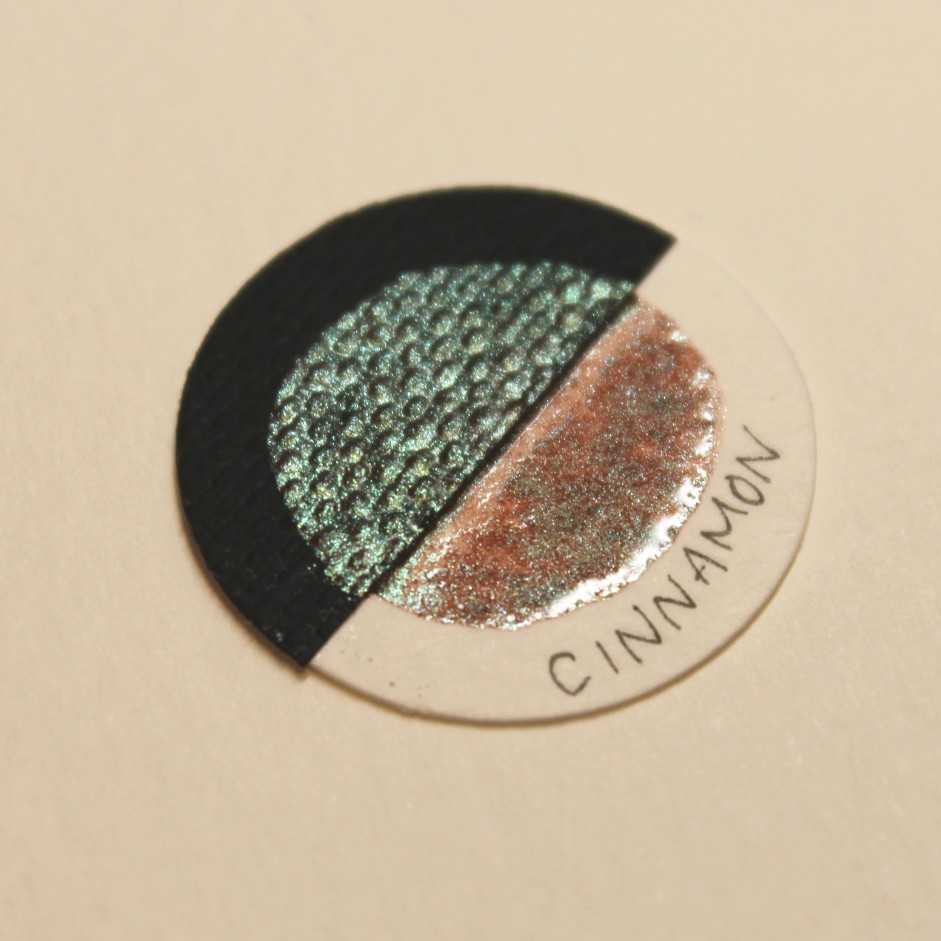
I use black paper in this swatch as well, in order to see how my shimmers look on a dark background! This is optional for matte paints. If you are doing this part, use the same hole punch for black paper of your choice. You will need a half circle for each swatch (I just cut them into circles and then cut them approximately in half).
Step 2: Glue your paper pieces together and stick on the velcro!
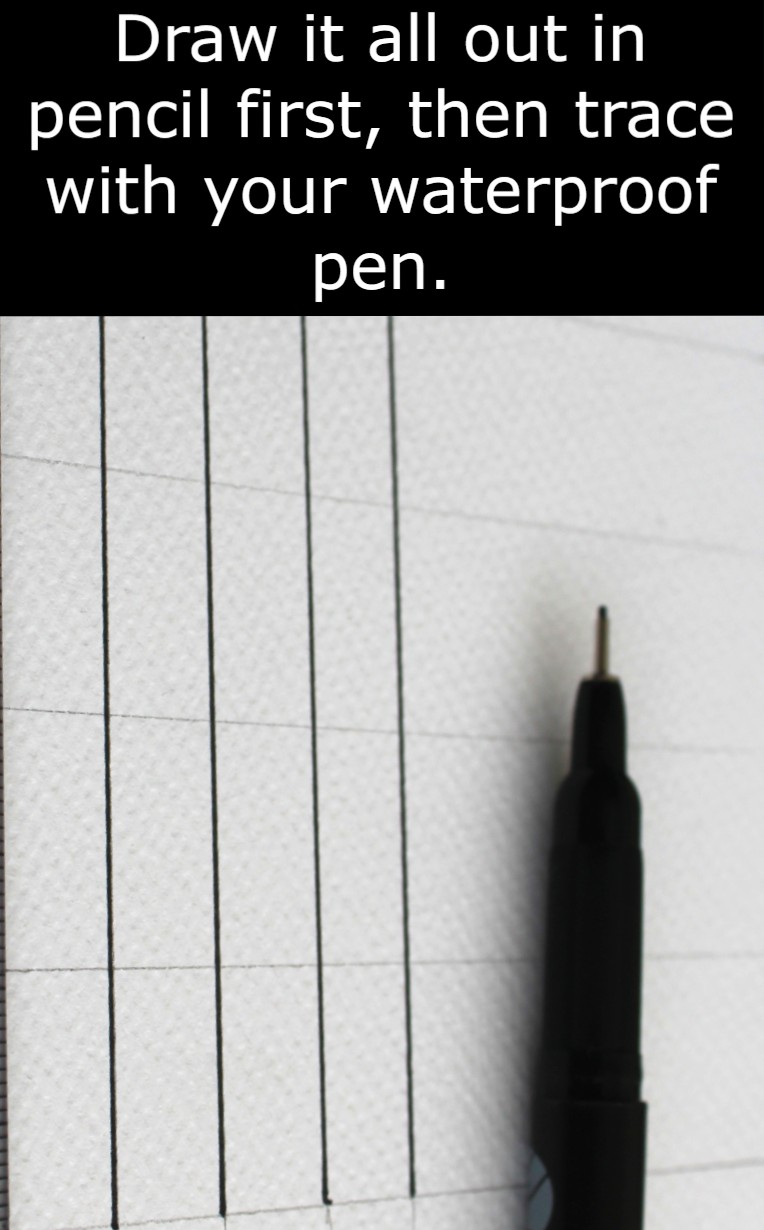
- You can use any kind of glue for this part, but I used a glue pen (see picture). Glue each half circle of black paper on to a piece of watercolour paper.
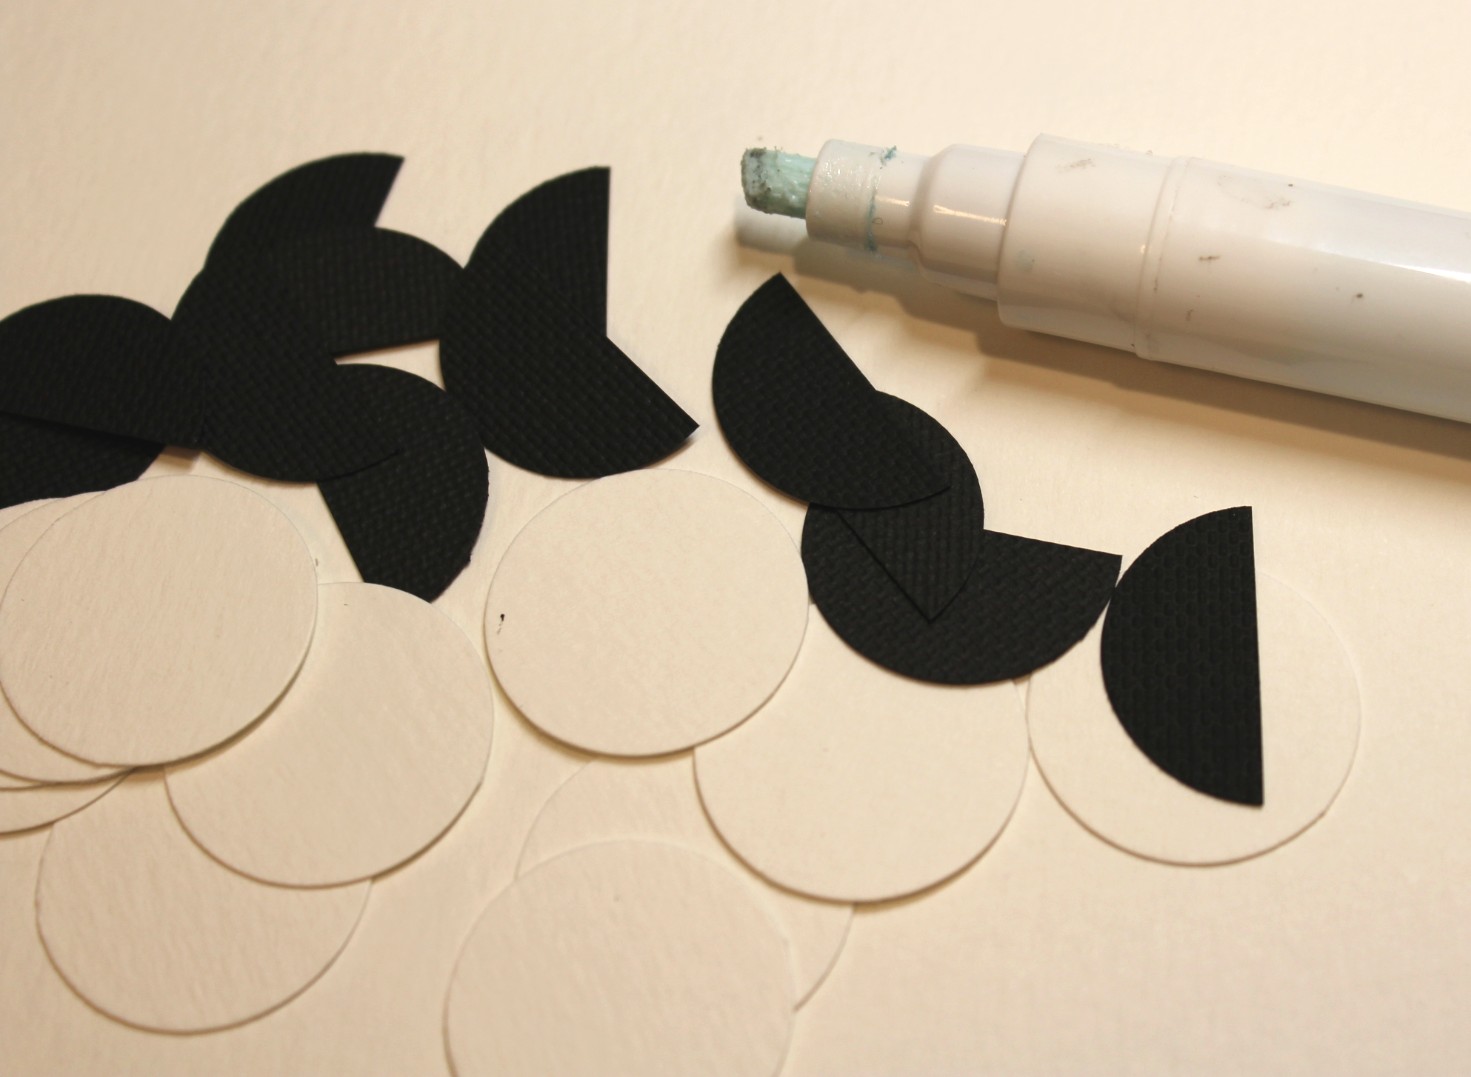
One half circle per swatch 
Apply enough glue to keep it in place 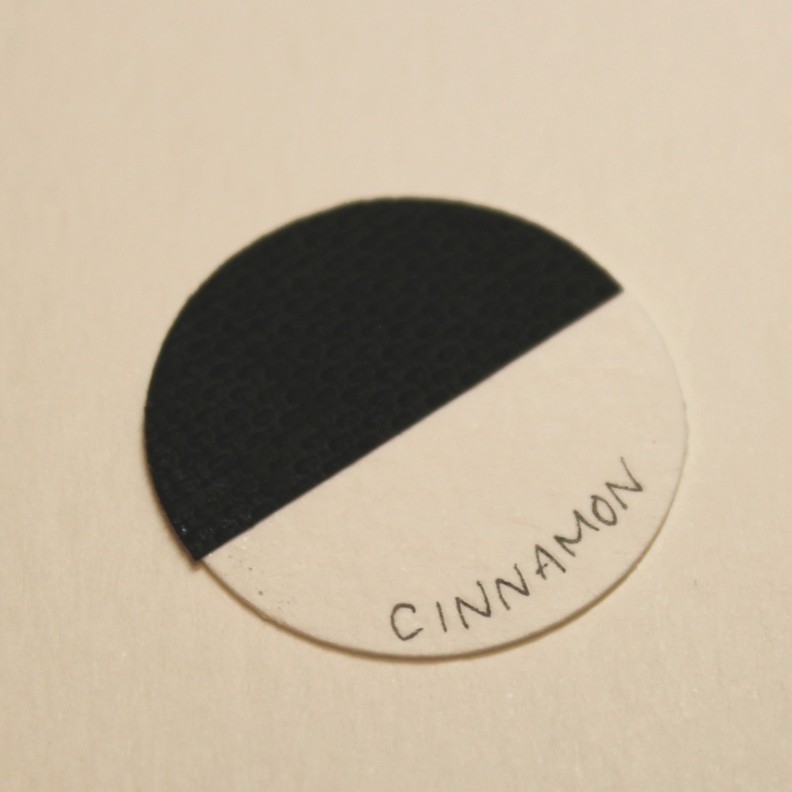
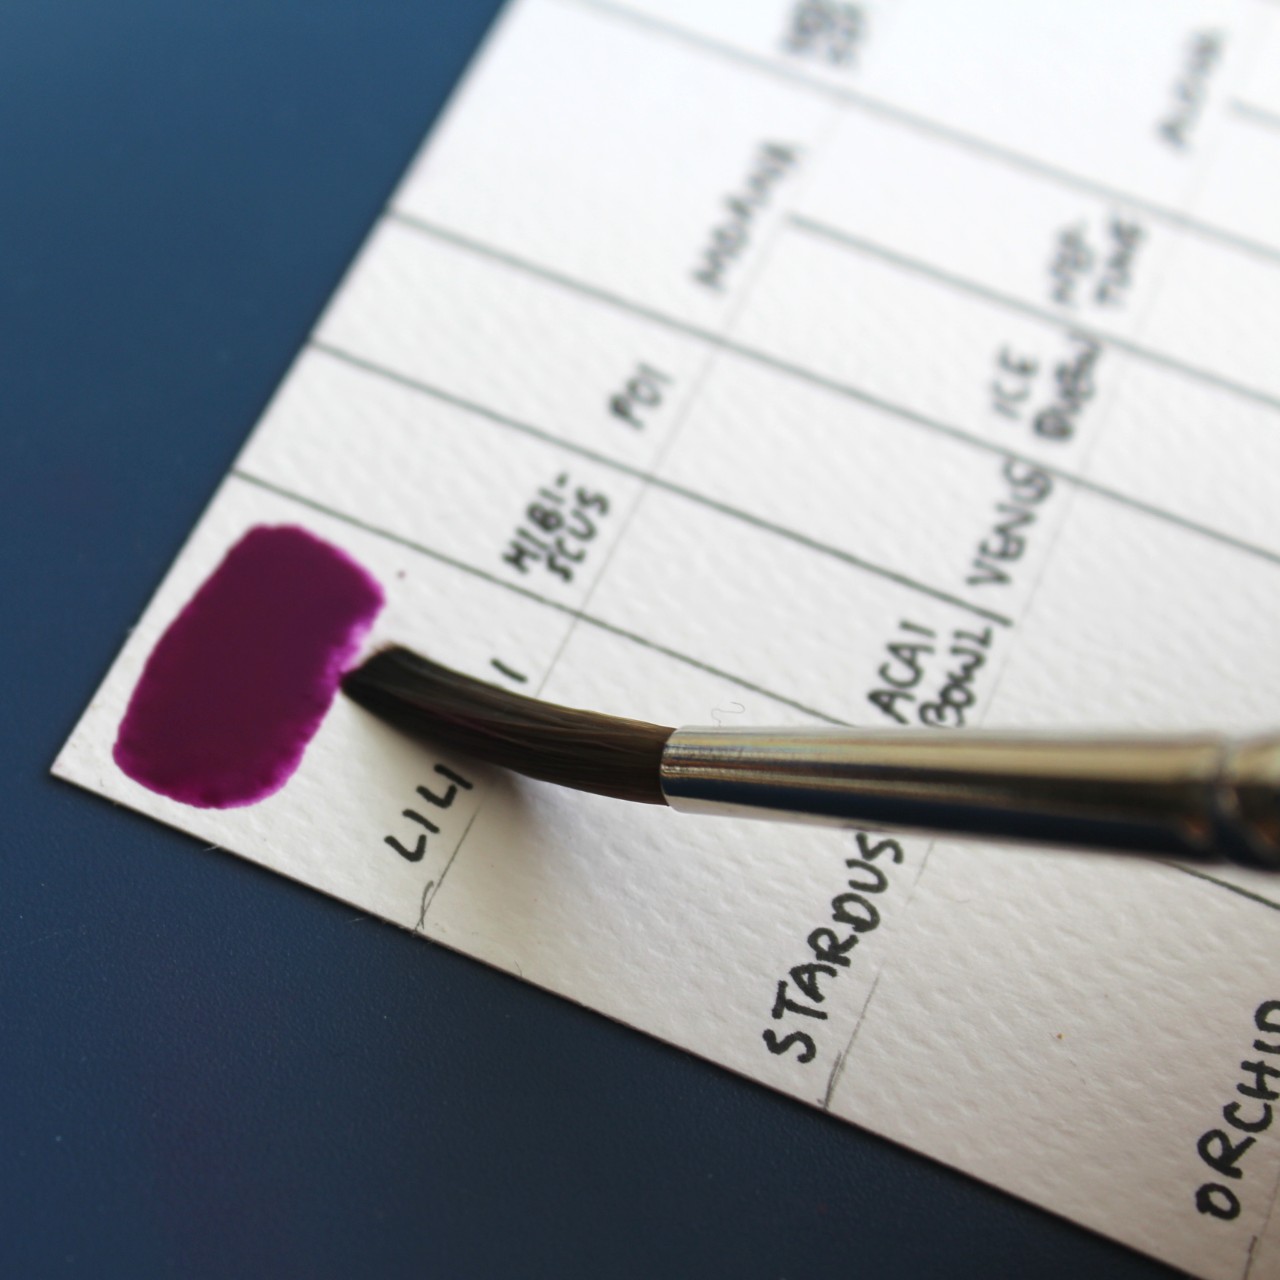
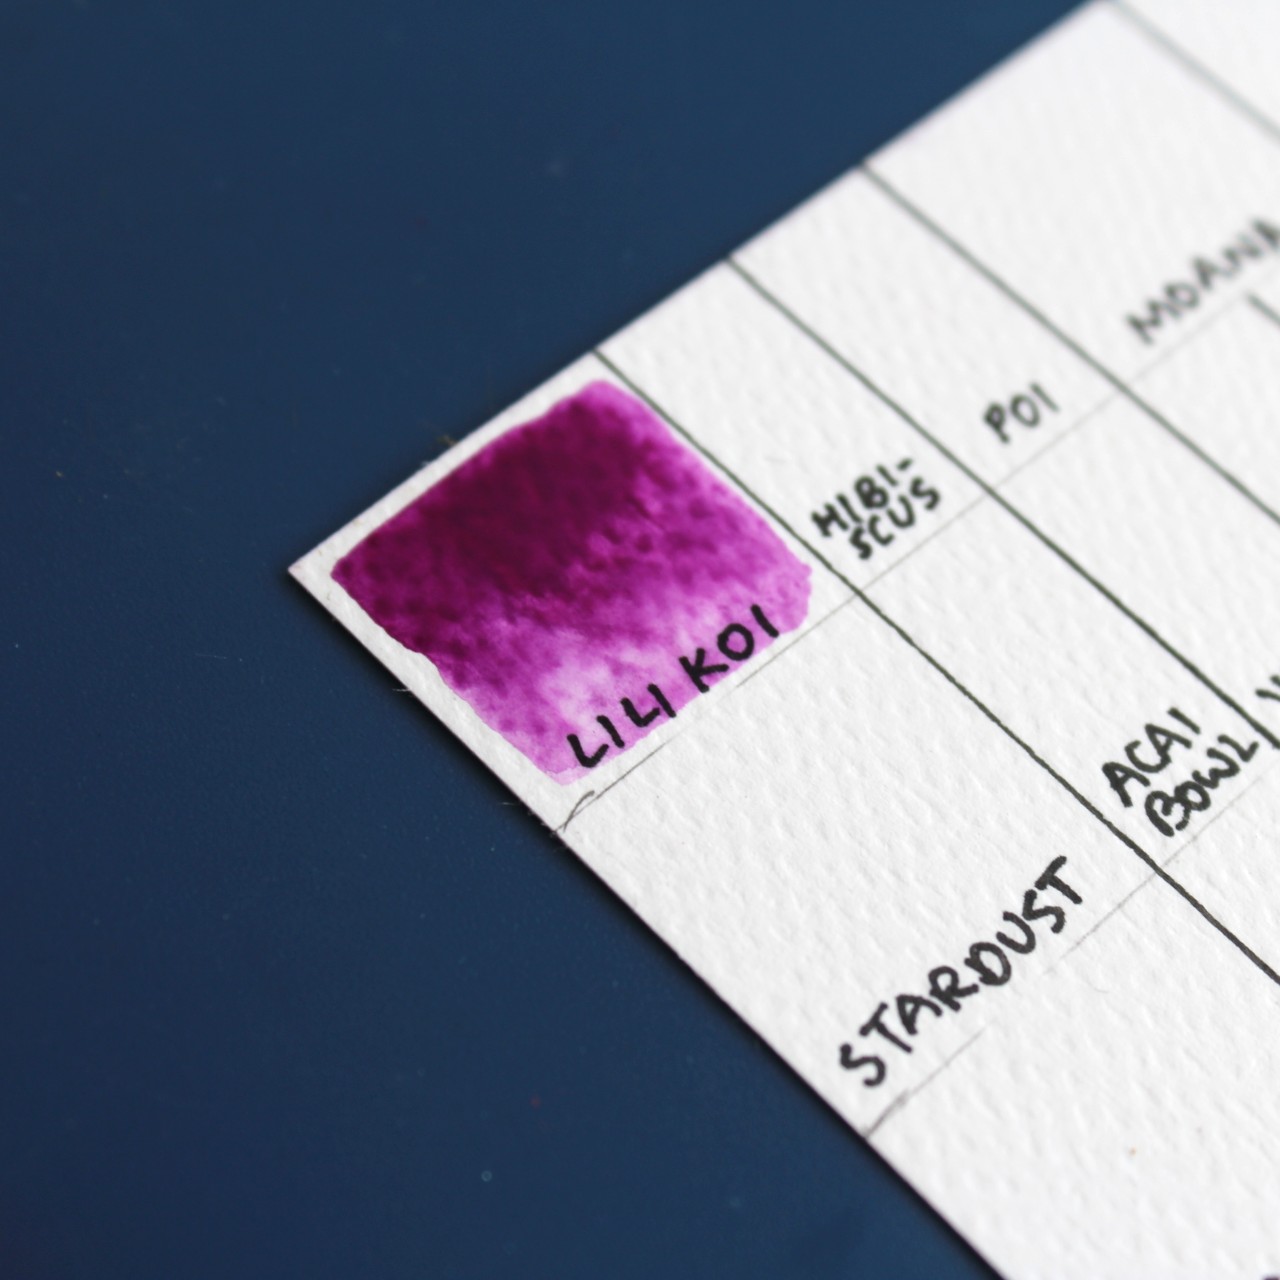
Label your swatches- you can also add a maker name here!
- Next, attach a piece of velcro to each swatch circle. I stuck the hooked bits to the swatch, and laid the other half in rows on my backing paper. My backing paper is A4,, and I made mine landscape so I could fit 10 swatches in each row.
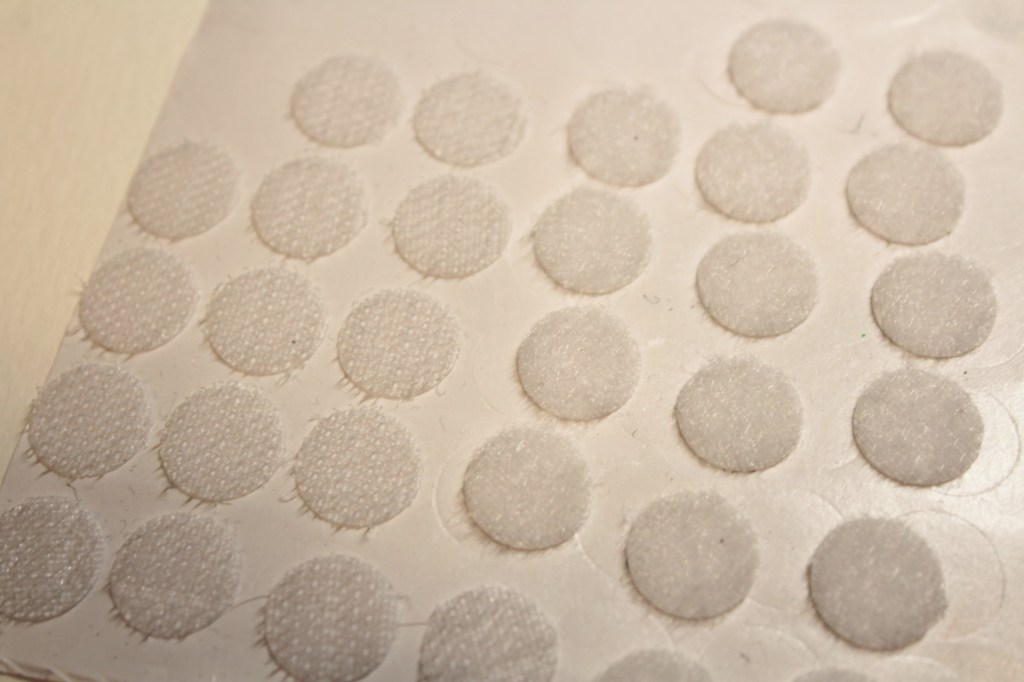
Velcro dots! 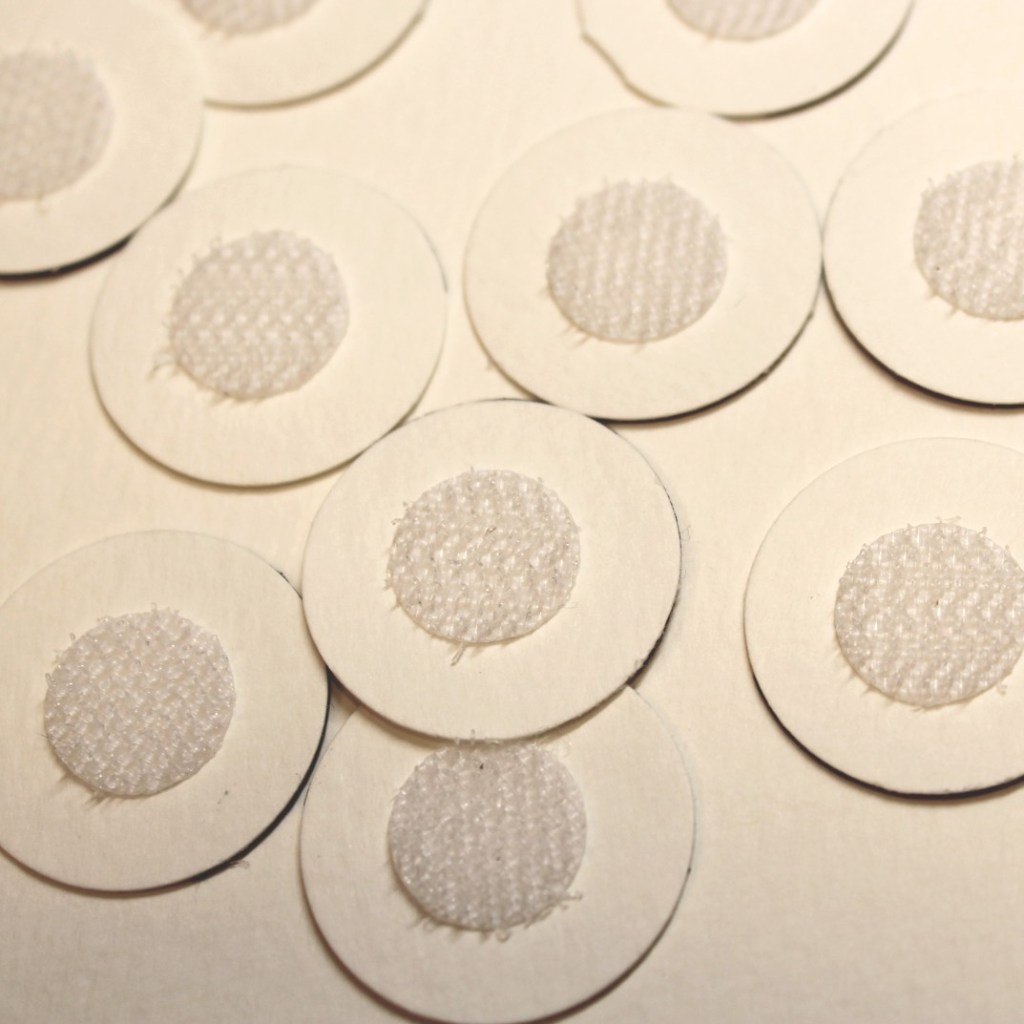
One dot per swatch 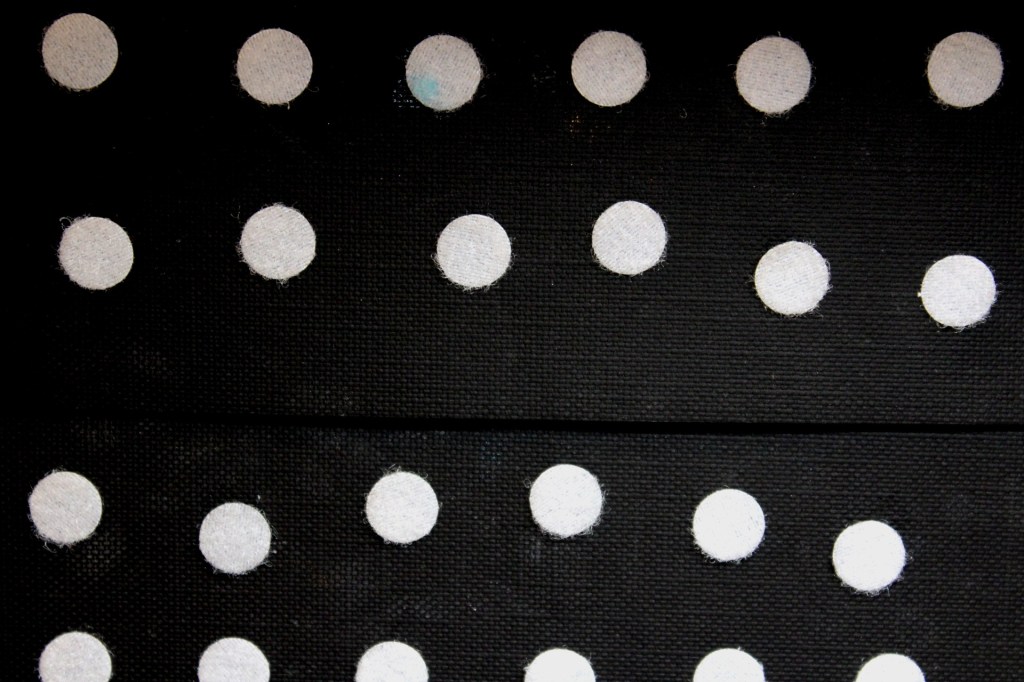
Attach the other half to your backing paper!
It doesn’t really matter which side of the velcro you put on the circles, but make sure you are consistent for the whole paper.
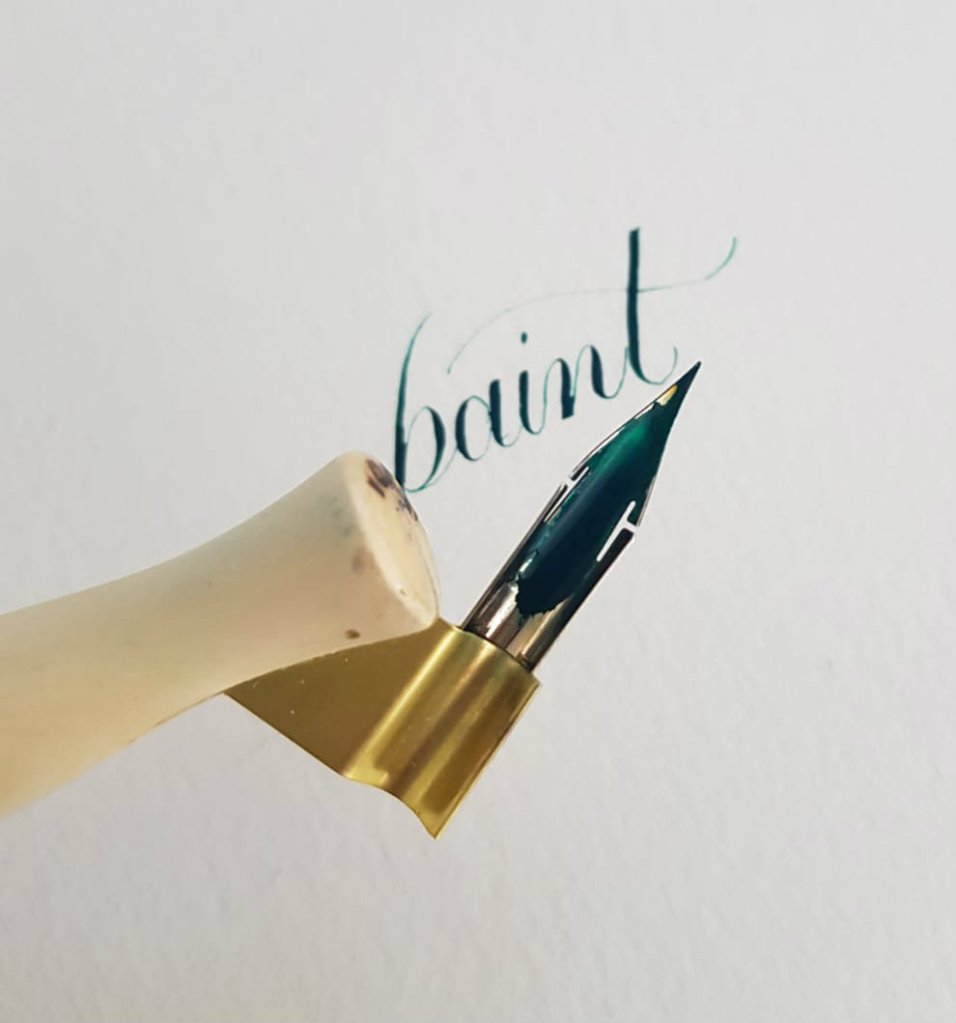
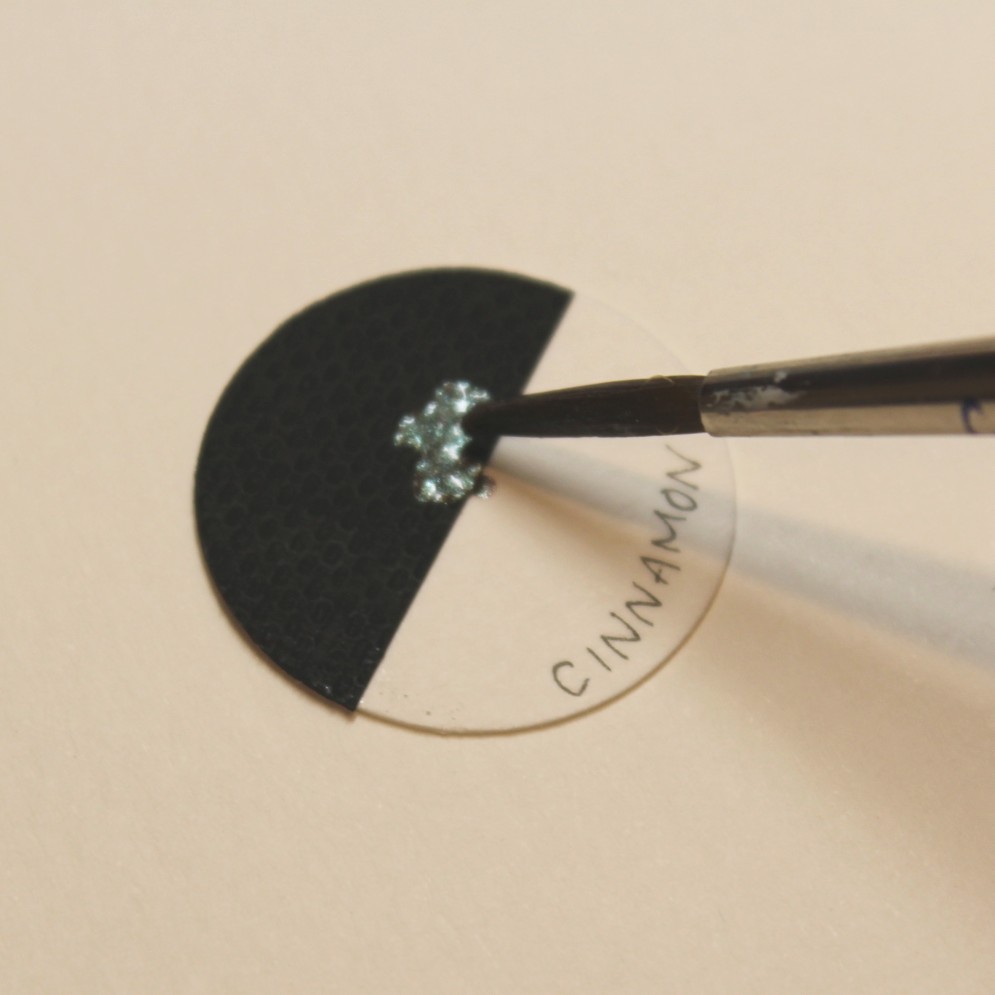
Step 4: Swatch your paints!
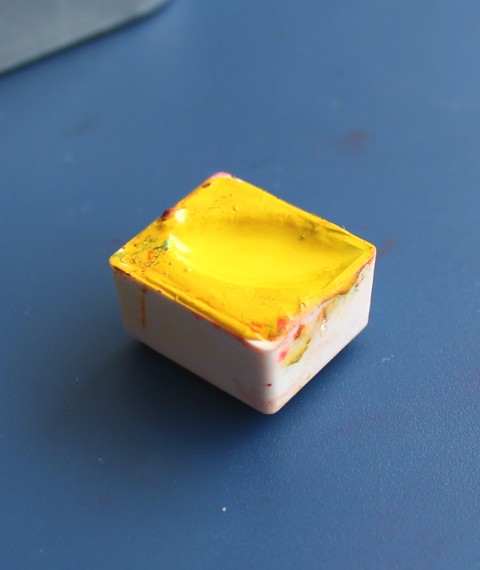
For this tutorial, I am swatching Cinnamon, a shimmer from Keiko , who runs @alohawatercolors (Instagram and Etsy).
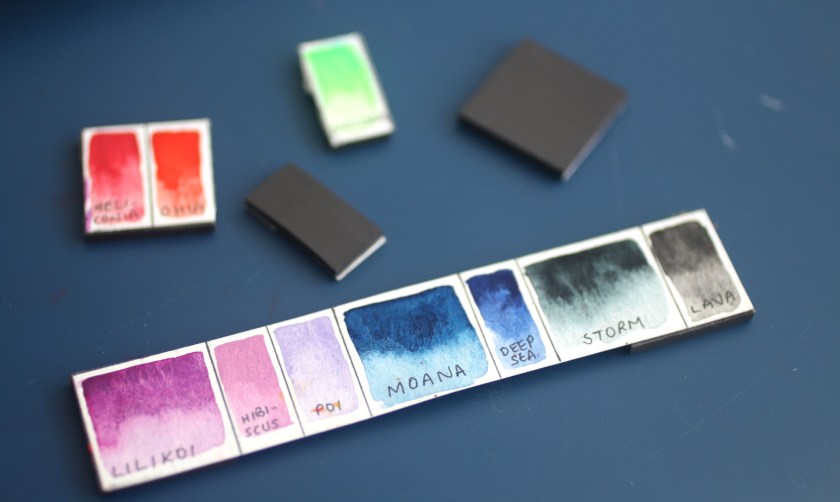
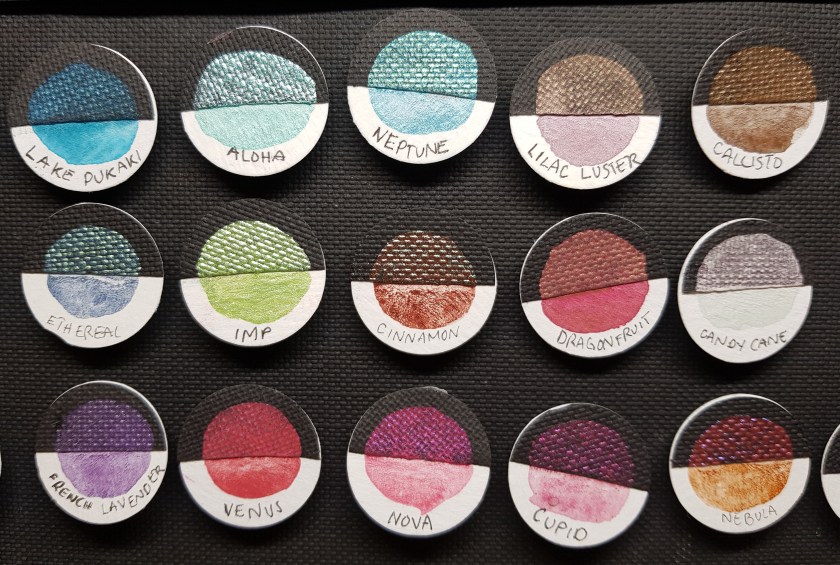
Step 5: Arrange your paints!
I arranged my mattes separately to my shimmers, and then by hue! This is, of course, a matter of preference, AND, the whole point of this project is that it’s adjustable! If you change your mind or get new paints, you can just move them around!
For storage, you can keep these however you want, just be careful of movements that will dislodge the velcro! I have mine pinned to a notice board.